There are a number of symptoms that can be seen when the ReadyNAS mounts USB drives as read-only.
Not what you're looking for? Return to the ReadyNAS Not Accessible FAQ.
These types of issues occur in situations like
- Backup jobs, such as when using USB drive is the destination fails with status error 13.
- Can read data, but cannot change (delete, modify) files on a USB share.
| Example of error from Backup Job log | Example Access Denied message from Windows |
|---|---|
| name: Backup_to_USB full: yes proto: local src: [volume:data]/ dst: [usb:usb_port_3:3]/ start: 1390921868 finish: 1390921873 status: 13 |
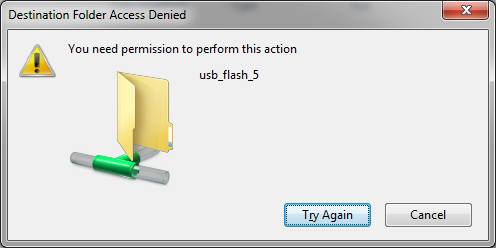 |
This issue arises when the USB drive has NOT been cleanly unmounted, either from the ReadyNAS or from a Host OS.
To resolve this issue, insert the USB drive into a Windows PC and run CHKDSK on the USB drive. For instructions on how to run CHKDSK on your USB, review TechNet's article on the matter. Using CHKDSK is at your own risk. NETGEAR is not liable should any data loss or errors arise from running the CHKDSK scan on a USB drive.
To prevent this issue from re-occurring, it is important to cleanly unmount the USB before removing it from the device to where it is attached. There are a few methods to cleanly unmount the USB from ReadyNAS:
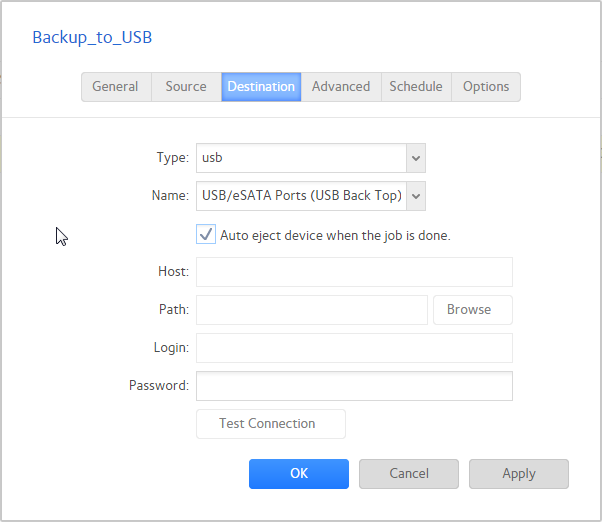
- If using USB as the destination in a backup job, the USB can be unmounted once the backup job is complete. In the backup job properties, go to the Destination tab and select Auto eject device when the job is done
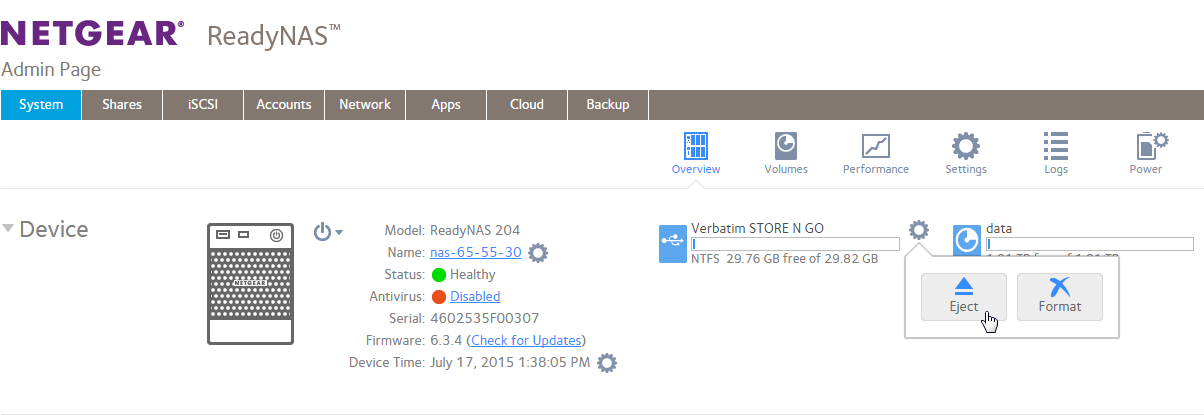
- Manually unmount the USB from the Admin Page: Go to System > Overview. In Device, you will see the USB located next to the data volume. Click on the Gear icon and select Eject
- If your ReadyNAS is equipped with a Backup button, press and hold the Backup button for roughly 10 seconds and then let go, and the ReadyNAS will eject the USB.
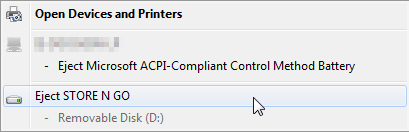
Cleanly unmount USB drive in Windows
- Click on the 'Safely Remove Hardware and Eject Media' icon in the System tray located on the right side of the task bar.
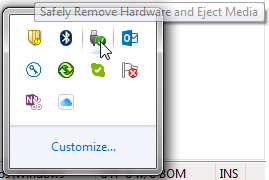
- Select the USB drive you wish to unmount.