

The easiest way to set up your NETGEAR WiFi USB adapter is with the NETGEAR Resource CD included with your adapter. If your computer does not have a drive that reads CDs, download the software for your WiFi adapter from the NETGEAR Download Center.
If your computer uses Microsoft Windows 7 or newer, Windows might automatically install drivers for your adapter when you plug it in. Because NETGEAR does not have access to and cannot provide support for built-in Windows drivers, we recommend that you install the official NETGEAR drivers for your WiFi USB adapter. For more information, see Does Microsoft Windows automatically install NETGEAR network adapters?
To set up your NETGEAR WiFi USB adapter:
- Install the NETGEAR adapter software or a standalone driver for your computer.
For more information, see the following articles: - Insert your WiFi adapter into an open USB port on your computer.
The adapter provides the best performance in a USB 3.0 port but is also compatible with a USB 2.0 or USB 1.1 port.
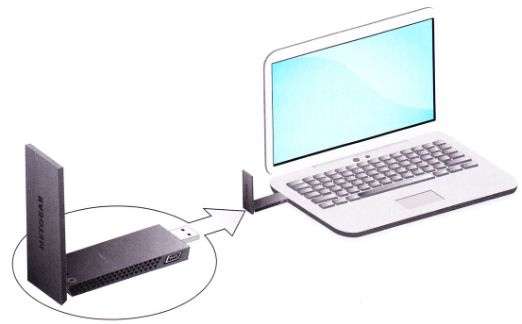
- Use the adapter software or Windows configuration tool to connect to a WiFi network.
You can also use Wi-Fi Protected Setup (WPS) to connect if your router supports it.
For more information, see the following articles:
Last Updated:07/07/2025
|
Article ID: 6740