

WG111T Version Driver 1.3 for Windows 2000 and Windows XP
Software release version 1.3
Driver version 1.5.0.2102
Utility version 1.3.0.1
Enhancements
- Adds WPA2-PSK.
- Adds XR (Extended Range).
- Passes Microsoft WHQL certification
- Improves low performance with WPN824 router when using WPA-PSK.
- Improves the Smart Wizard.
To Upgrade
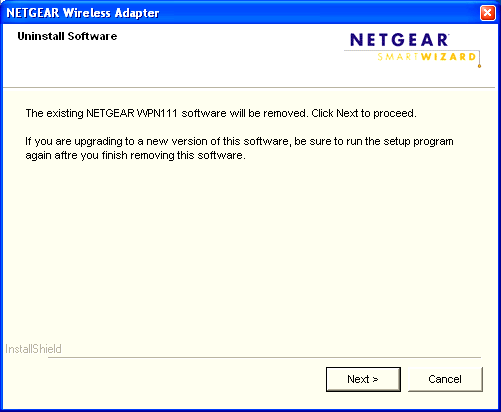
- Select Start > Programs, and choose the WG111T utility. Select the option to uninstall. Note: your screen will incorrectly say to uninstall the WPN111. Ignore this typo.
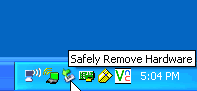
- Mouse over the Safely Remove Hardware icon in the Windows system tray, and double-click the icon. The Safely Remove Hardware window appears.
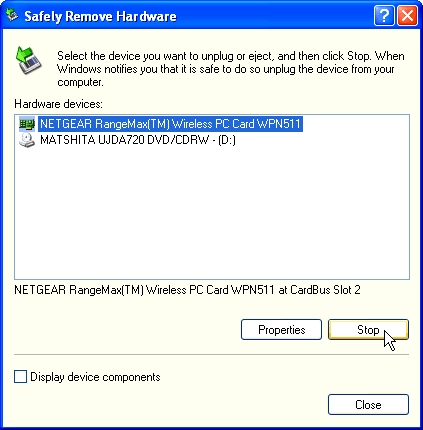
- Highlight the name of your adapter, and click Stop.
-
- Click OK, if asked to confirm removal.
- Physically pull the adapter out.
- Download the file using the button below to a convenient place such as your desktop.

4.90 MB
- Double-click the file you just downloaded wg111t_1_3_setup.exe
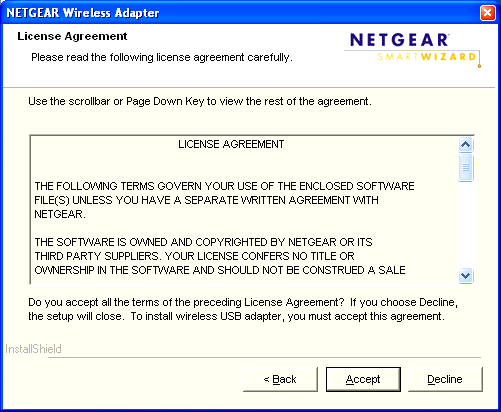
- Click Accept to continue.
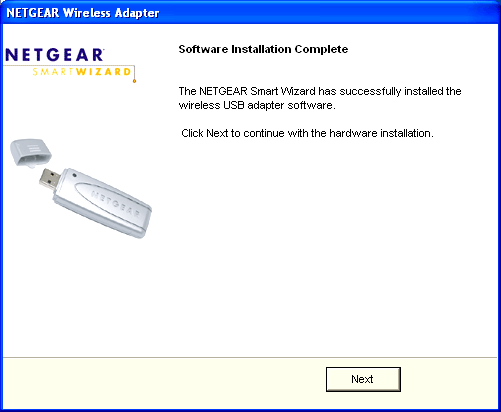
- Click Next to continue. A progress bar reports how far the installation has completed. When it's done the "Software Installation Complete" window displays.
- Plug in your WG111T USB adapter to USB slot and turn on your PC.
- Click Next to continue.
- Select the country where you will use your computer. Incorrect selection may affect performance, and violate the local laws.

- Click Agree to continue.
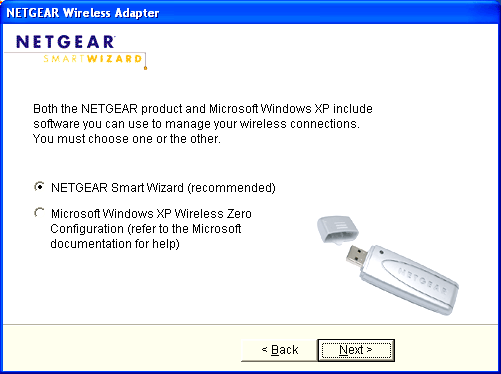
- Select the NETGEAR Smart Wizard, and click Next.
- Select Yes to get the recommended help, and click Next.
- The Selecting a Network window appears. Highlight the Network Name you want to connect to. If the Network Name (SSID) is blank, it means that network's router is not broadcasting its SSID. If you want to connect to that network, log in to the router and find the screen with the SSID name, or ask your network administrator for the SSID.
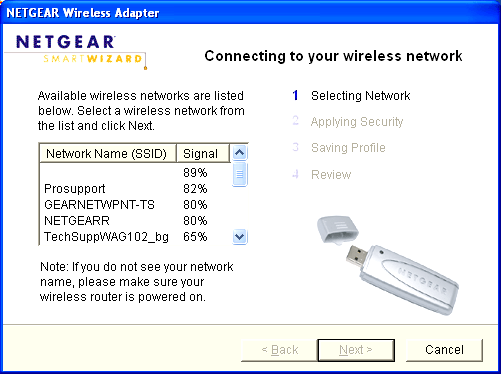
- Click Next.
- Click Next. The screen advances to the Saving Profile step. You do not have to enter a profile, but it's easier than reentering the network information.
- Click Finish to close the installer.
- A confirmation message shows that your computer is connected to the Internet. Also the utility shown at right shows. Now that the installation is finished, you will use the utility in the future to examine reception, available networks, etc. You may leave the Smart Wizard utility open during normal operation, if you like. Some of the features to note in this example:
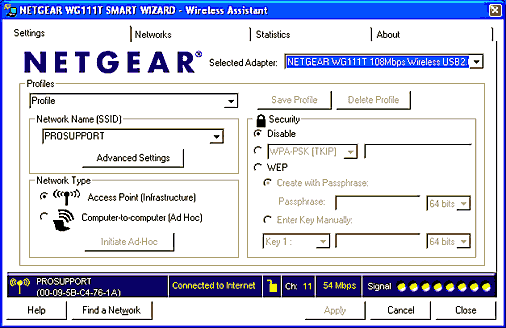
- The user created a profile called "Profile".
- The network he is connected to has an SSID of "PROSUPPORT".
- The Network Type is Infrastructure. To connect, one has to use the same type as the rest of the network.
- In the status bar, you can see that the network is using channel 11. Again, one has to use the same channel as the rest of the network.
- In Security, neither WEP nor WPA is selected, which is not a good idea. This example network is very vulnerable to hacking. See Improving Default Network Security.
- The signal strength is at the maximum — all the lights in the status bar are green. However, anything but red is acceptable. For information, see Improving Wireless Range.
d102703.asp
Last Updated:10/17/2025
|
Article ID: 722