

This article shows how to create a Home Share on ReadyNAS OS 6 . A home share is essentially a private folder for each user.
This article is relevant only between ReadyNAS OS 6.0.1 and 6.1.9.
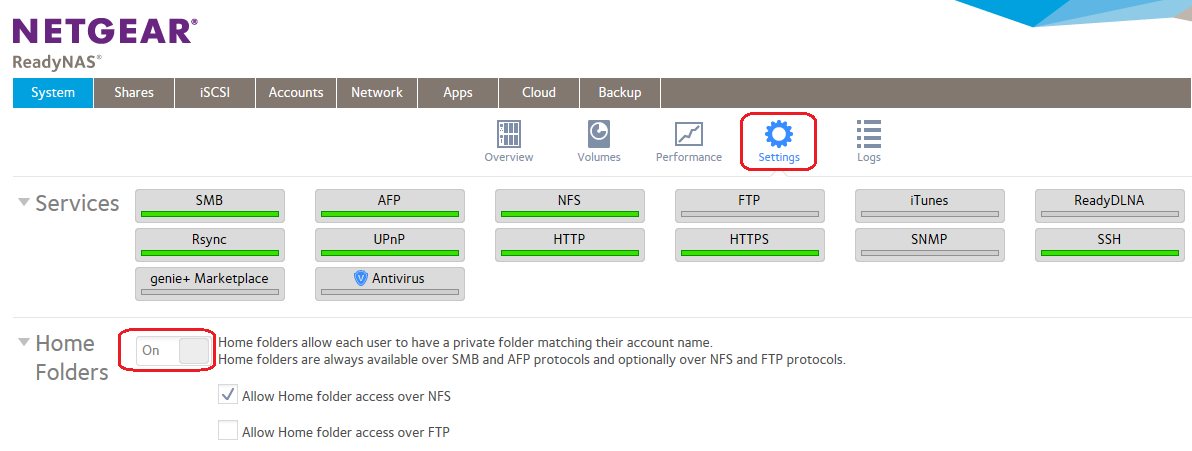
- Go to System > Settings, and enable Home Folders as shown.
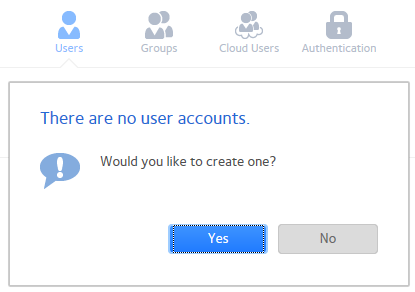
- On main menu, go to Accounts. Click on New User to create a user.
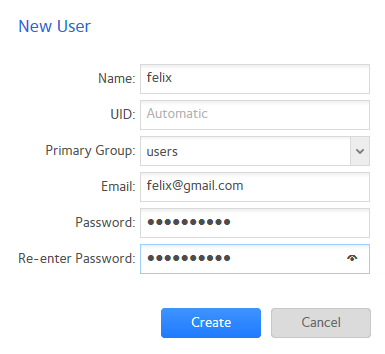
- Here, a user "felix" is created. Assign a password.
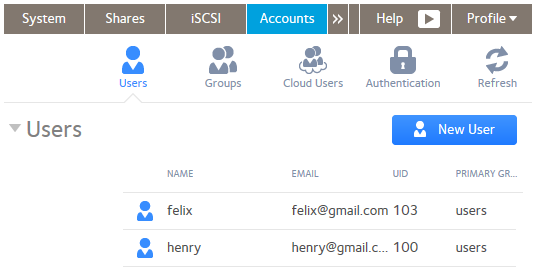
- This example shows list of users.
- Now,to map to a home Share, using a Windows 7 PC.
Go to computer, and 'Map Network drive'.

- Insert the drive letter, and user, inthe following format
\\ IP address of NAS \ user

- You are then prompted for login credentials. Click on 'Use another A/C'.
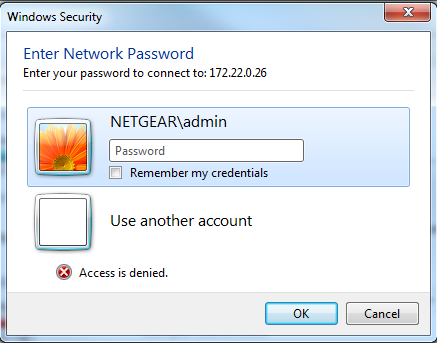
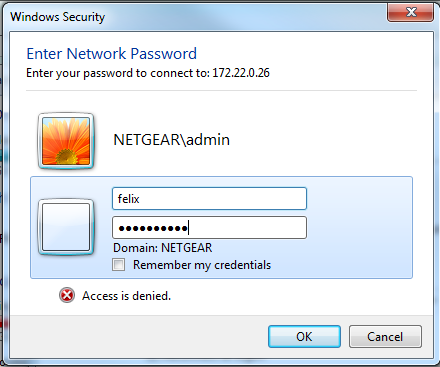
- Enter the username you use, and the password you entered in step 2 above.
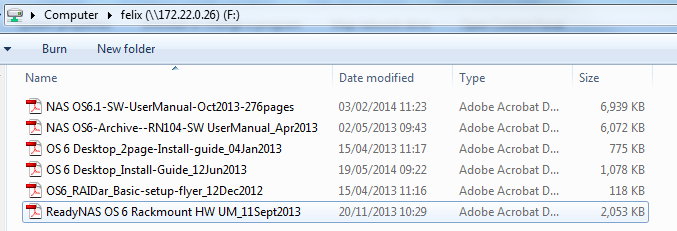
- Drive is now mapped on Win 7 PC.

- Here, for example, I copy some files from "C:\manuals", andpaste into "felix", using Windows Explorer.
Appendix
Note
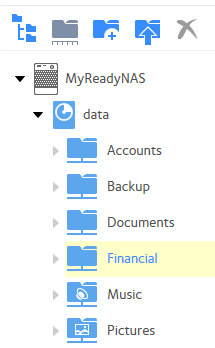
- On the Share menu, Home shares are not visible.
- The 'New User' box will not be available in Step 2, if NAS is joined to a Domain.
Last Updated:07/07/2025
|
Article ID: 7027