

The UTM Connector add-on for ReadyNAS OS6 allows the NETGEAR ProSECURE UTM devices to set the ReadyNAS as storage for logging and quarantine. The UTM by default does not have persistent logging, meaning if you reboot or shutdown the UTM, the logs will be gone. This article will guide you on how to install and configure the UTM Connector add-on on ReadyNAS OS6.
Note: This will only work for x86 processor units, and not for ARM units, as shown:
x86 (RN312 / RN314 / RN316 / RN516 / RN716x / RN3130 / RN3220 / RN4220) - compatible
ARM (RN102 / RN104 / RN202 / RN204 / RN2120) - not compatible
1. Download the add-on from this your UTM product page, such as the UTM150: UTM150 Product Page
2. Install the UTM to ReadyNAS Connector add-on. Login to the your ReadyNAS, go to Apps then click Upload. Browse for downloaded UTM Connector add-on then hit Open. Hit Upload then complete the installation.
3. Once installed, it should show up under the Apps tab, Installed Apps.
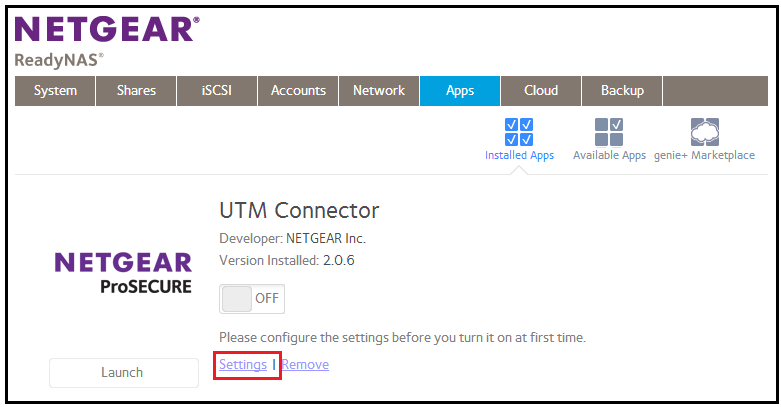
4. Before enabling the add-on, go to the Settings first. You will get an error if you enable it without configuring the Settings.
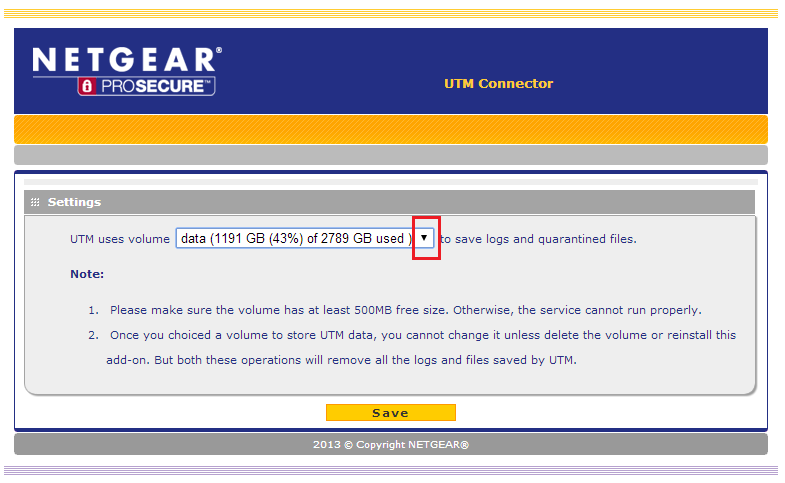
5. It will go to the configuration page of the UTM Connector. The dropdown will list all available volumes, select the one that you will set as the target then hit Save.
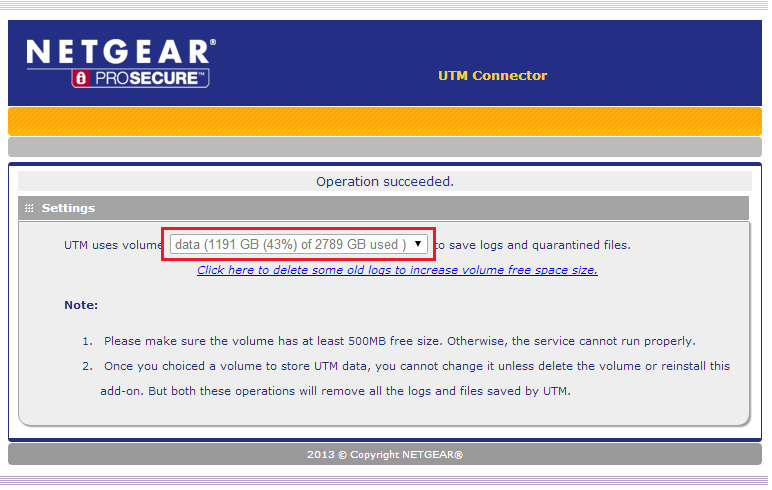
6. Once saved, you will see that the volume is grayed out which means it is already configured.
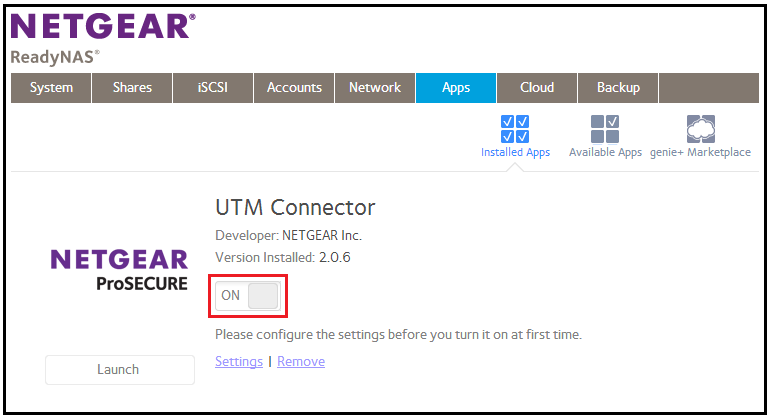
7. Go back to the add-on and turn it on. It should now enable without any errors.
Clearing Old Logs:
1. You can clear the old logs of the UTM by clicking "Click here to delete some old logs to increase volume free space size".
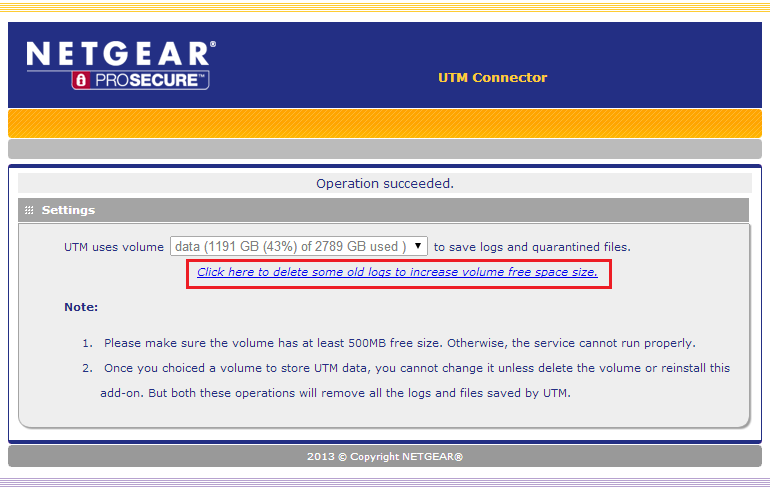
2. Then select the number of days you would like to delete (valid value is 0 – 731) then click Clear.

If you were looking for our legacy ReadyNAS x86 (4.2.x) units, you can follow this guide:
UTM Connector - ReadyNAS Intergration Guide (Legacy x86)