

NETGEAR Support might request your ReadyNAS system logs to help troubleshoot a problem or authorize a return. You can download the logs from your ReadyNAS system’s web interface.
The system log download process depends on which firmware your ReadyNAS system uses, but the process for sending logs to NETGEAR support is the same for all firmware versions. After you download the system logs, you can attach the logs to your support case.
Download ReadyNAS System Logs
To download system logs on ReadyNAS OS 6:
- Open the web interface*.
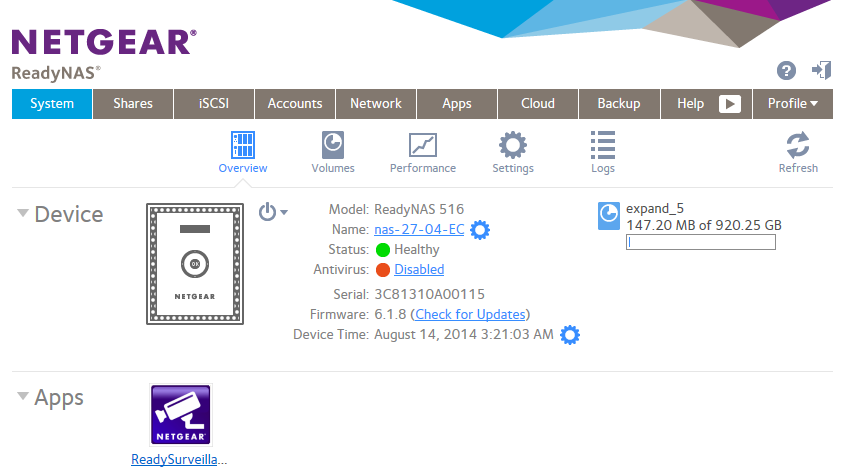
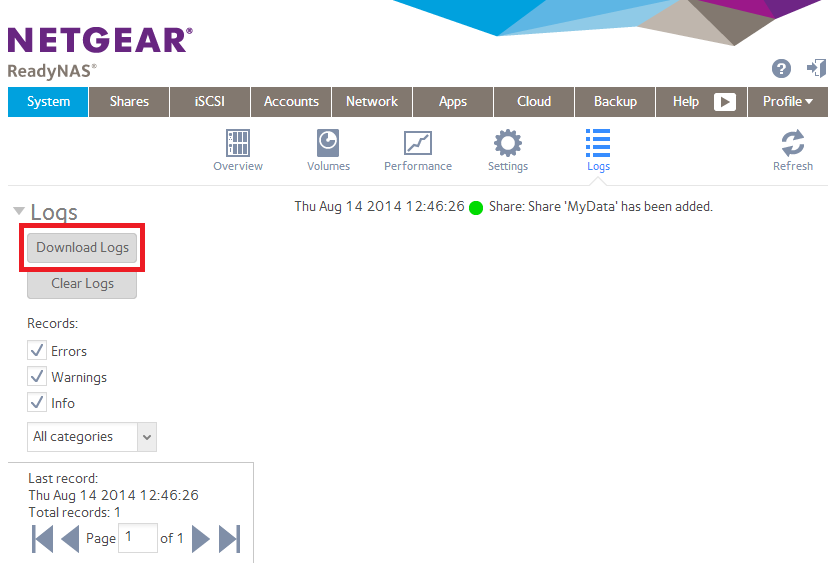
- Click System > Logs > Download Logs.
The Download Logs button is marked in red in the following screenshot.
- When prompted, save the logs to your computer and attach your logs to your support case.
* If the web interface is unavailable and your ReadyNAS is running OS version 6.2.3 or newer, then you can use the Download logs button in RAIDar 6.0 (download here).
To download system logs on RAIDiator 5:
- Open the web interface.

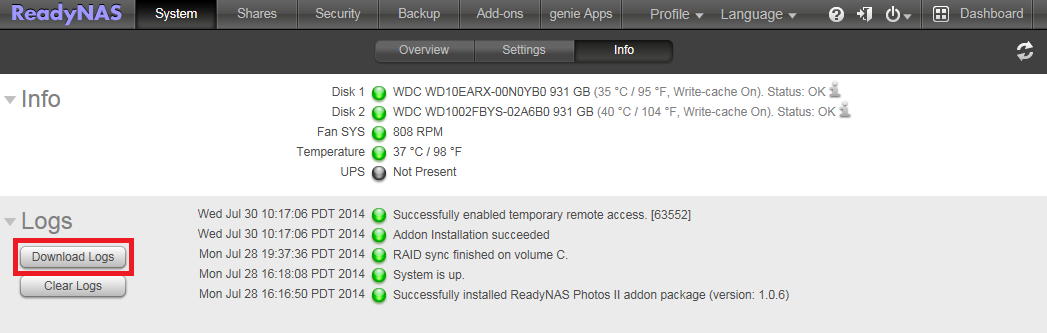
- Click Configure > System > Info > Download Logs.
The Download Logs button is marked in red in the following screenshot.
- When prompted, save the logs to your computer and attach your logs to your support case.
To download system logs on RAIDiator 5:
- Open the web interface.
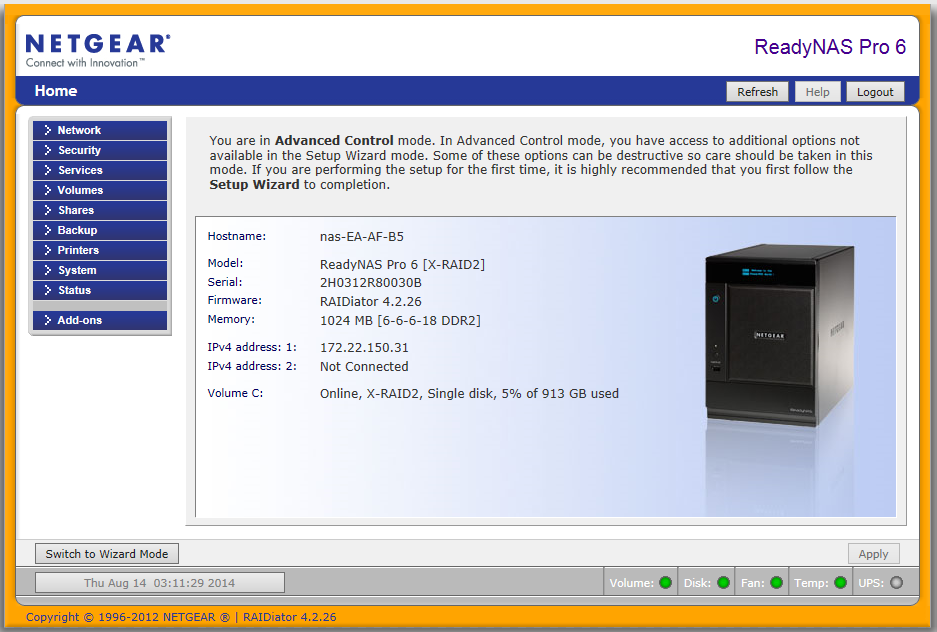
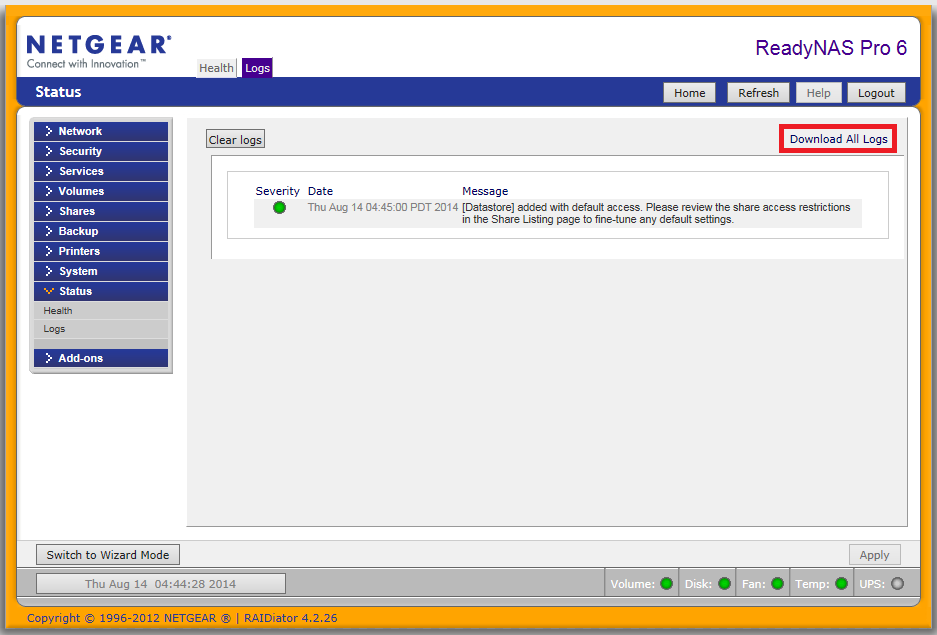
- Click Status > Logs > Download All Logs.
The Download All Logs button is marked in red in the following screenshot.
- When prompted, save the logs to your computer and attach your logs to your support case.
Attach Logs to Support Case
To attach ReadyNAS system logs to your support case:
- Launch a web browser and visit the MyNETGEAR My Cases page.
If you are not already logged in, enter your user MyNETGEAR user name and password to log in. - Locate your ReadyNAS support case and click View Case.
- Write a brief description of your attachment and click Upload files to case.
- Browse your computer and select your ReadyNAS log bundle ZIP file.
- Click Send.
The support representative assigned to your case will review the logs and respond accordingly.