This article will demonstrate how to restore data from a snapshot of an iSCSI LUN.
Example: Restore a Directory That Was Mistakenly Deleted
Assumed that the iSCSI LUN is already created, formatted, and in use. Continuous protection is enabled on the LUN.
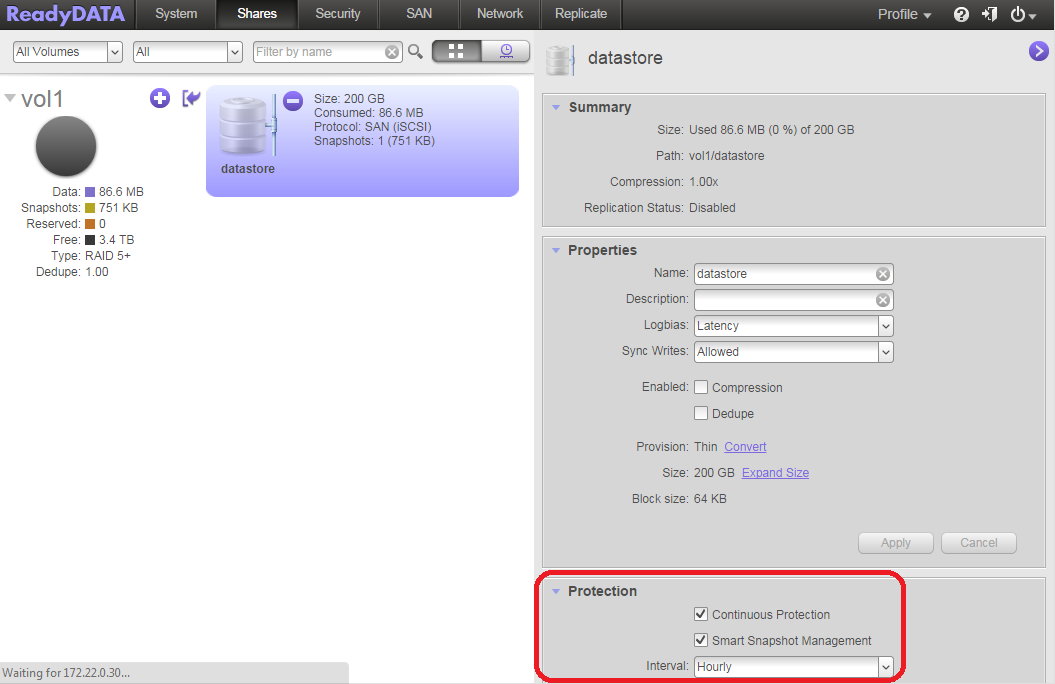
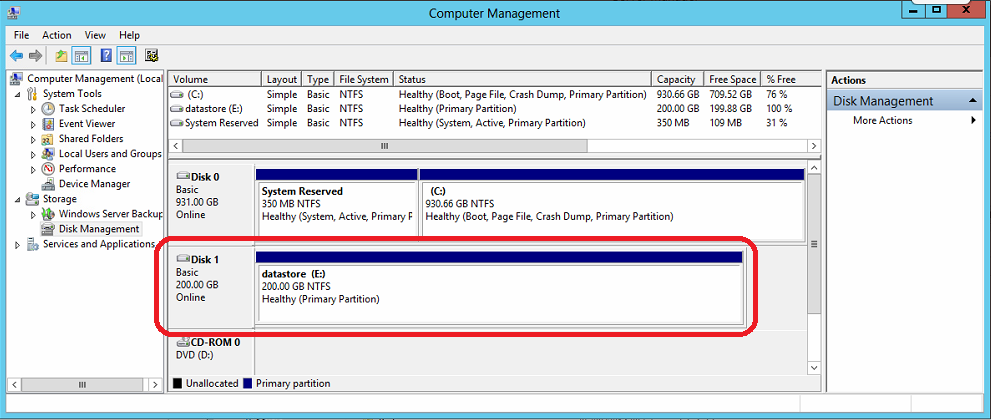
In this example, the LUN is formatted in NTFS and connected to a Windows server.
Here are the contents of the LUN.
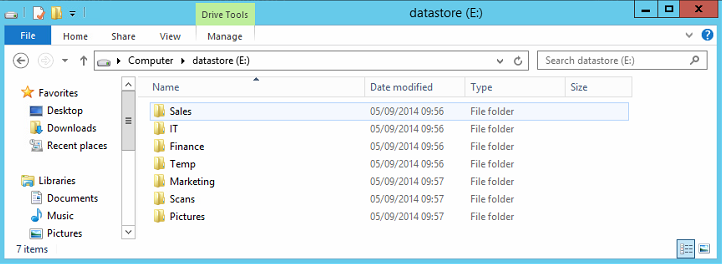
The Scans directory is mistakenly deleted.
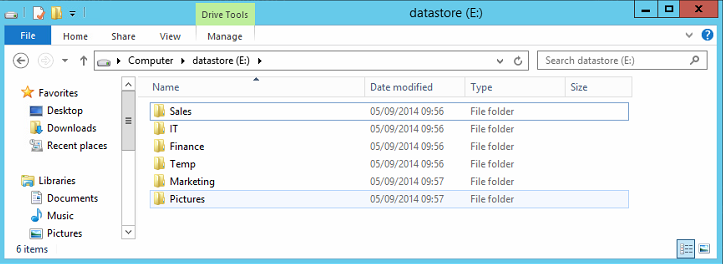
Recover the Deleted Directory from a Previous Shapshot of the LUN
To recover this directory from a previous snapshot of the LUN:
1. On the ReadyDATA unit, go to Shares and click on the timeline view.
2. In the left hand column, find the LUN and then move through the timeline to find the required snapshot.
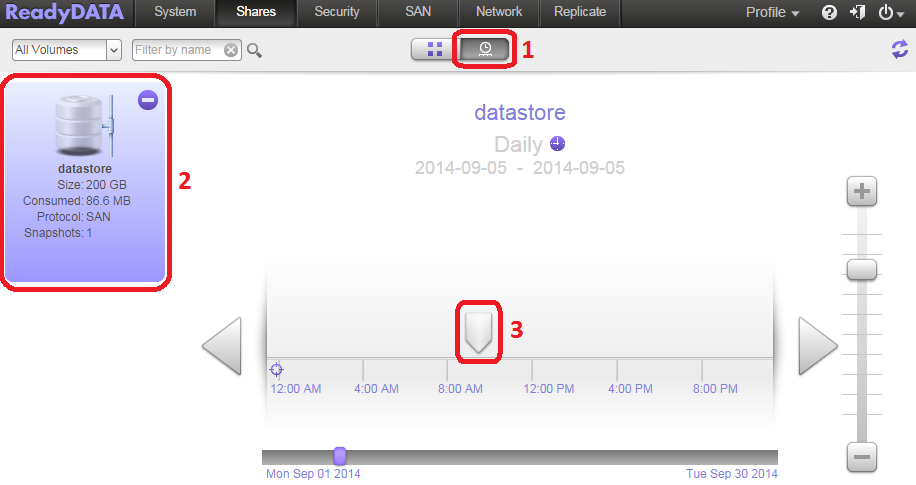
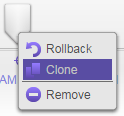
3.. Right-click on the snapshot and select Clone.
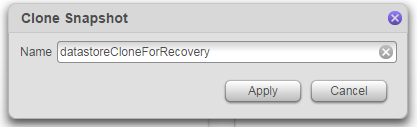
4. Give the clone a name and click the Apply button.
5. Go to the share listing view, click the Refresh icon.
The cloned snapshot displays.
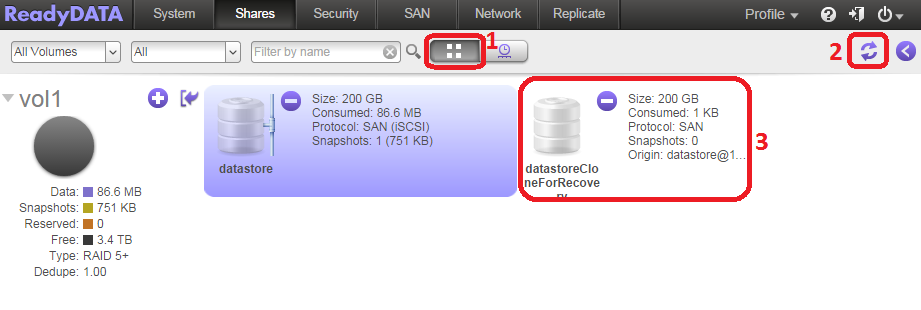
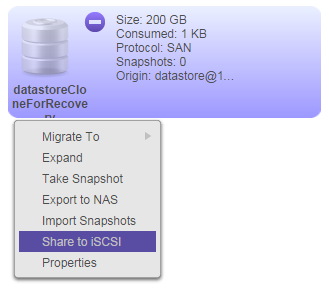
6. Right-click on the clone and select Share to iSCSI.
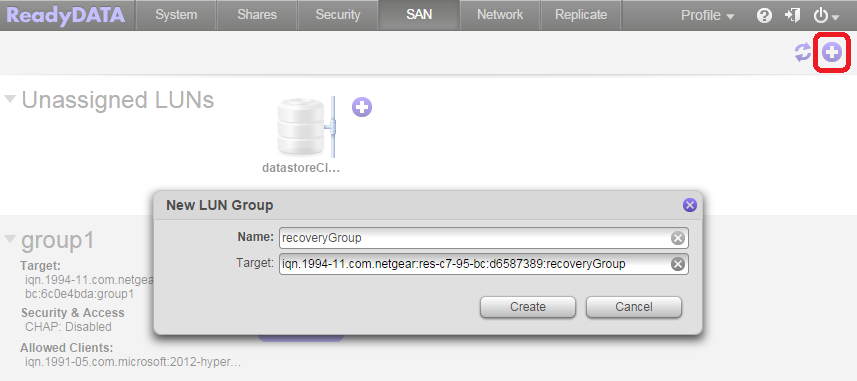
7. Go to the SAN tab where the clone should appear.
If the clone does not appear, press the refresh icon at the top right of the user interface.
For ease of management, we add a new LUN Group for use with the clone.
8. Press the plus icon marked in red below, give the group a name, and click the Create button.
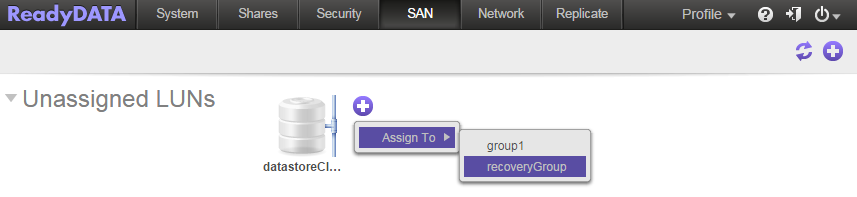
9. Right-click on the clone and assign the clone in to the new group.
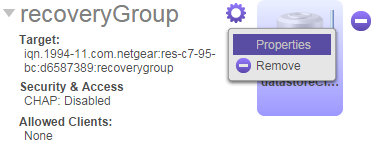
10. Go to the properties of the LUN group:
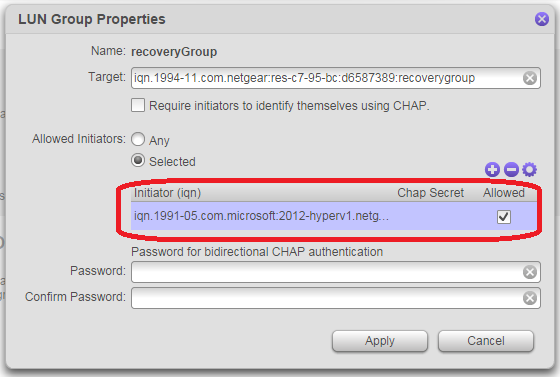
11. Allow access to the group for the IQN of the required host.
In this case, the host is our Windows server.
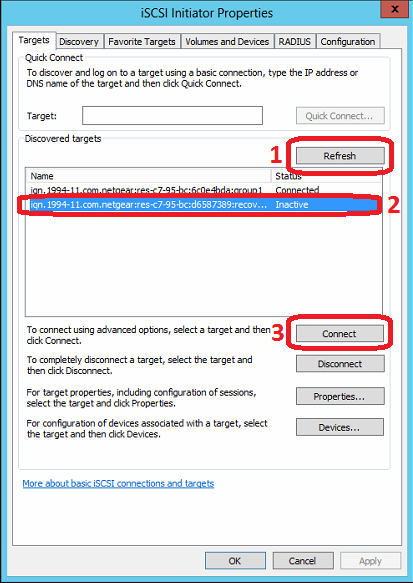
12. On the Windows server, open the iSCSI initiator.
13. In the Targets tab, click the Refresh button.
The new group (target) containing the clone appears.
14. Highlight this group and then click the Connect button.
15. On the Windows server, open Disk Management.
A new disk displays in an offline state. This item is the cloned snapshot.
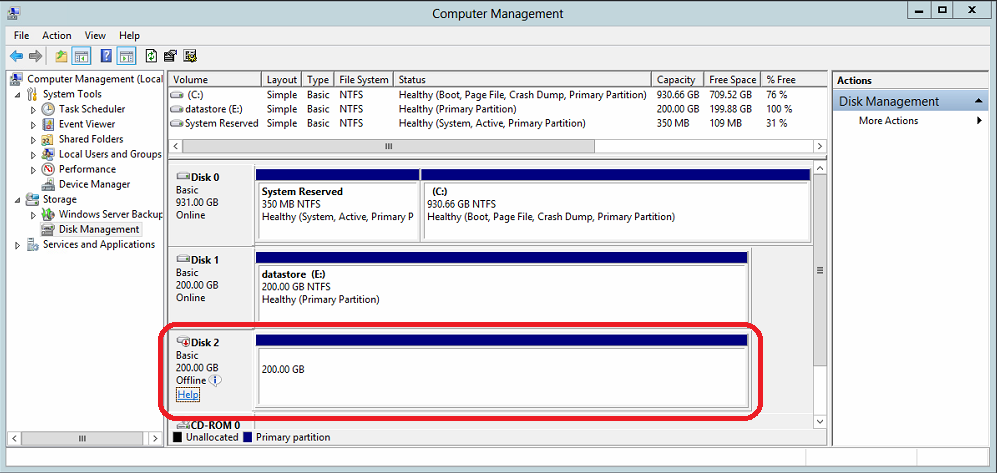
16. Right-click on the disk and select Online.
The disk in now online, is healthy, and has automatically been assigned the drive letter F:.


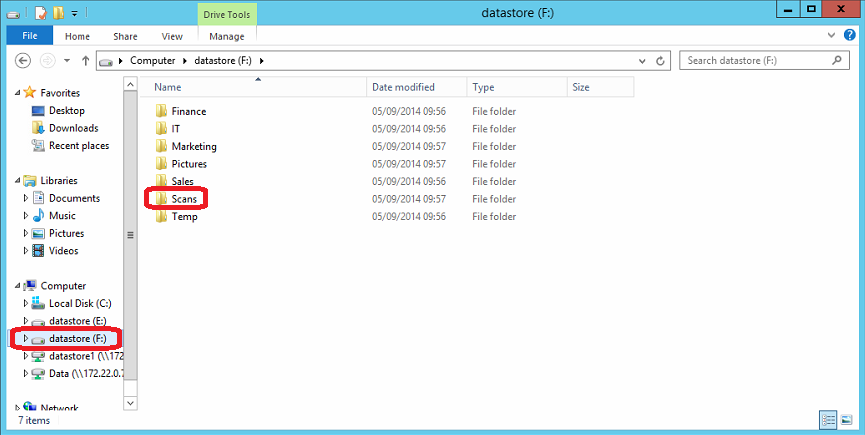
17. Open Windows Explorer and click on the F: drive.
We now have access to the Scans directory that was deleted. This data can be copied as needed.
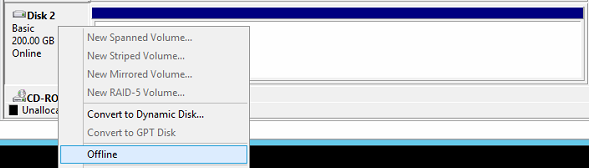
18. Once the data has been recovered, the disk is offlined in Windows Disk Management. Select Offline.
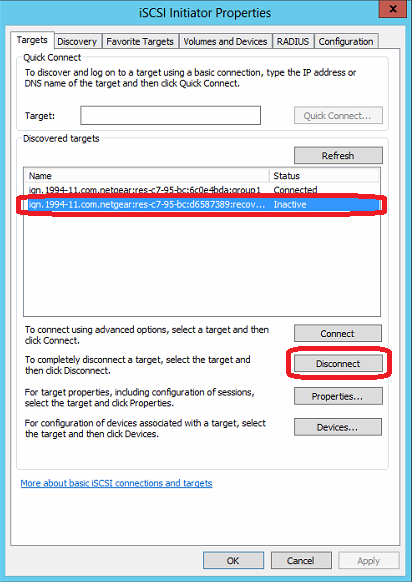
19. In the Windows iSCSI initiator, the connection to the LUN group (target) should be disconnected. Click the Disconnect button.
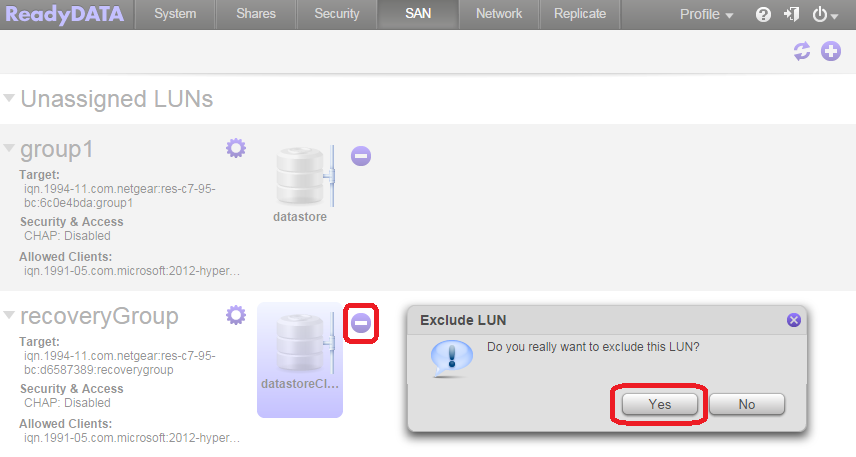
20. On the ReadyDATA unit under the SAN tab, the cloned LUN should be removed from the LUN group. Click the Yes button.
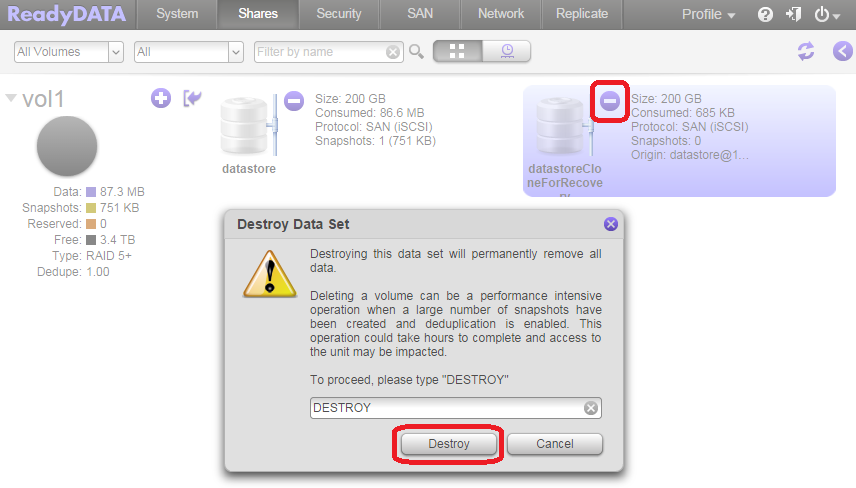
21. Under the Shares tab, the clone should be destroyed. Click the Destroy button.
This step only destroys the clone and does not destroy the snapshot from which the clone originated.