

This article describes how to configure Local Replicate to run a job continuously from a primary ReadyDATA to a secondary ReadyDATA.
You can configure a local Replicate job to run continuously from a primary ReadyDATA unit to a secondary ReadyDATA unit.
- Enable Replicate and exchange certificates between the two ReadyDATA units.
- Create the Replicate job from the primary to secondary ReadyDATA units.
An example continuous Replicate job is described below.
Enable Replicate and Exchange Certificates Between ReadyDATA Units
To enable Replicate and exchange certificates between ReadyDATA units:
- On each ReadyDATA unit, go to System > Settings and verify that the Replicate service is started.
When using local Replicate, the ReadyDATAs must not be joined to the Replicate online portal. The user name and password fields must be cleared.
- On each ReadyDATA unit, go to the Replicate tab and click the Certificates button.
- On the primary ReadyDATA unit in the Local Certificate section, click the Copy to Clipboard button.
The Copy Certificate screen opens, displaying the certificate:
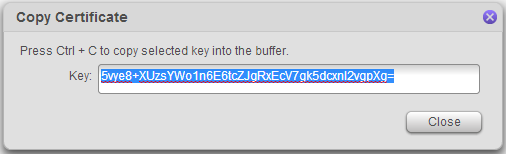
- Copy the string to the clipboard and press the Close button
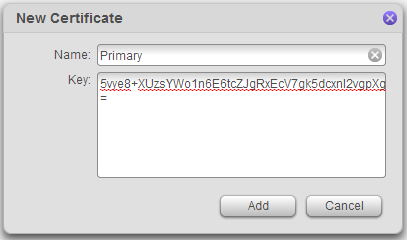
- On the secondary ReadyDATA unit, click the + icon.
The New Certificate screen displays:
-
- Give the certificate a name and paste the certificate into the Key field.
- Click the Add button.
- Exchange the roles of the ReadyDATA units and repeat the process.
-
This exchange of certificates in each direction is a one-time task.
-
Create the Replicate Job from the Primary to Secondary ReadyDATA Units
To create the Replicate job from the primary to secondary ReadyDATA unit:
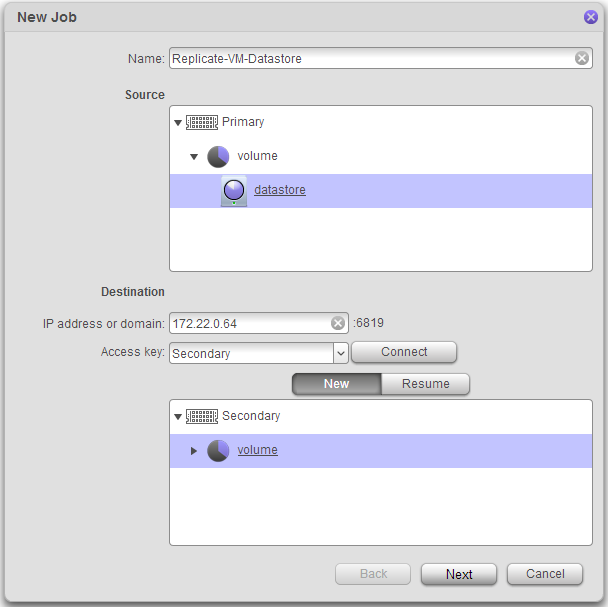
- On the primary ReadyDATA unit, go to Replicate> Jobs and click the New Job button.
- Give the job a name.
- Select the source dataset.
- Enter the IP address of the secondary system.
- Select the corresponding certificate entry.
- Click the Connect button.
- Choose the volume on the secondary unit on which the dataset is to be replicated.
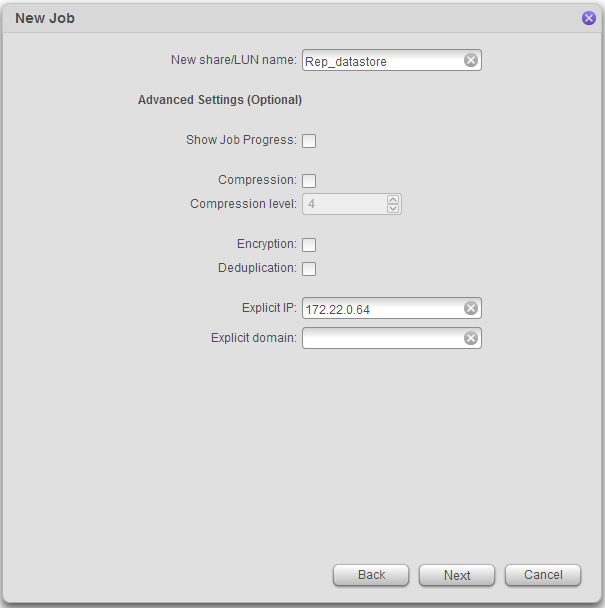
- Complete the remaining job configuration windows as shown in the example below.
- Click the Finish button.
Example of a Continuous Replicate Job
In this example, we use mostly the default options.
- The compression, encryption, and deduplication options are applied only during the data transfer.
- When the data is stored on the destination system, it has the same characteristics as the source dataset.
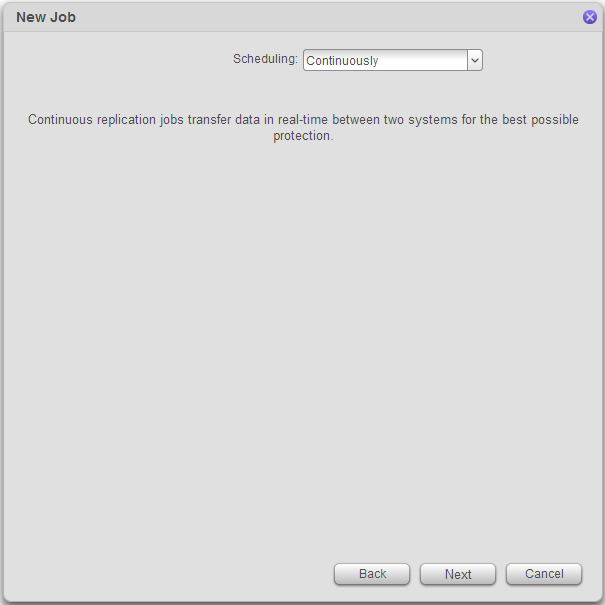
- For the schedule, we selected Continuously.
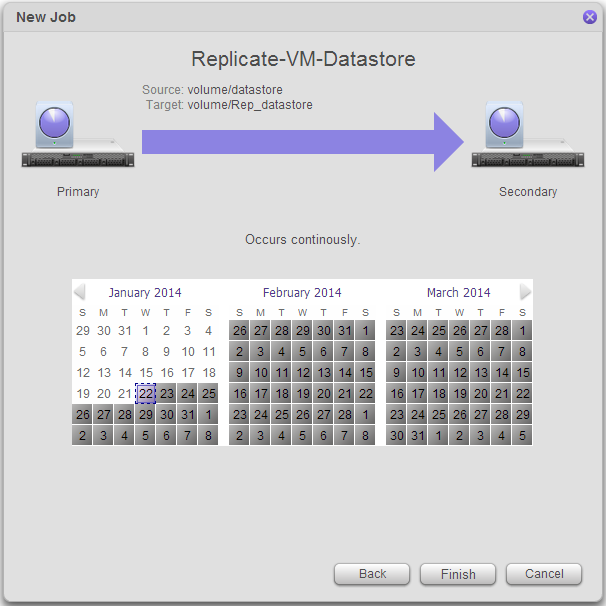
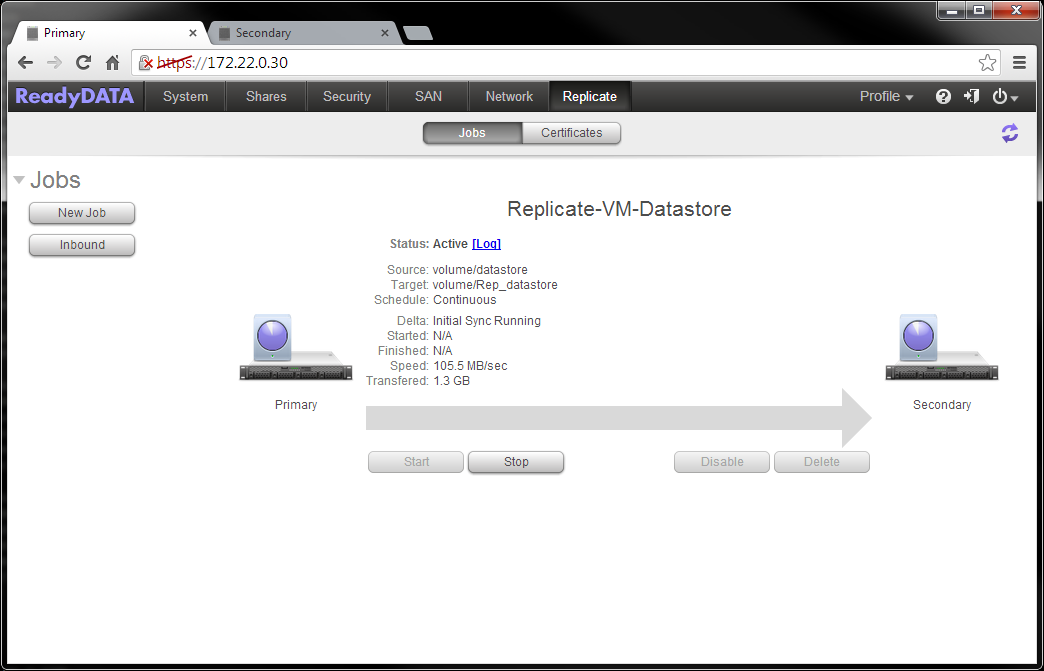
When the job configuration is completed, the job begins the initial sync as shown below. Depending on the size of the source dataset and the bandwidth of the network connecting the two ReadyDATA units, this initial synchronization could take a long time. You might want to seed the job before doing this initial synchronization . For more information, refer to the section on Seed or Reseed Replication in the ReadyDATA software manual or look at this article.
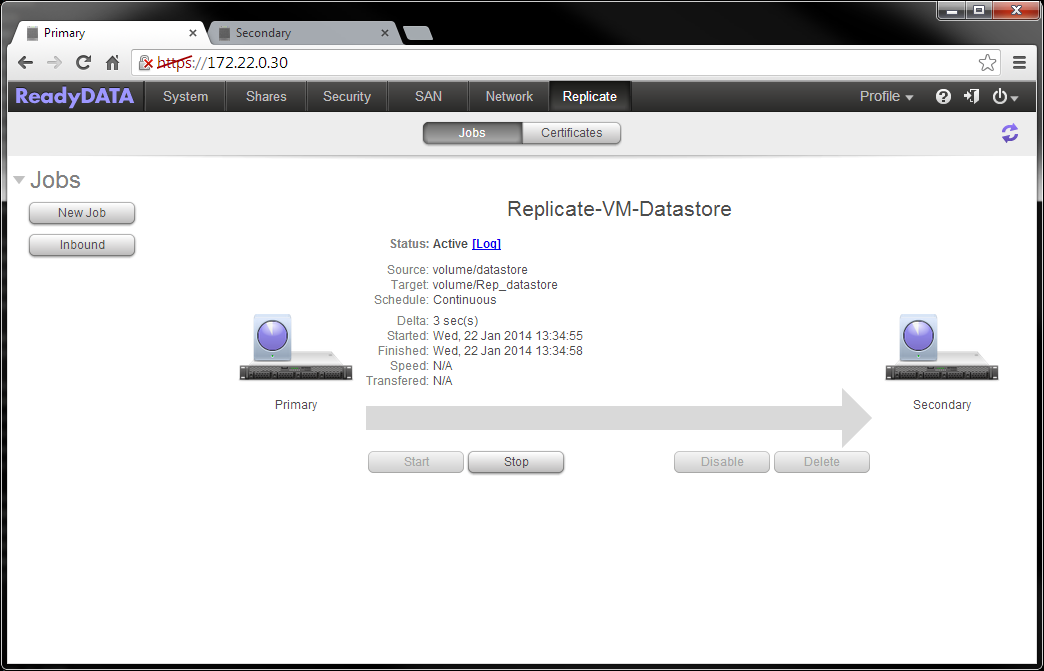
After the initial synchronization is complete, the secondary dataset is only a few seconds behind the source dataset. As changes are happening on the primary system, the blocks that are being changed are automatically sent to the secondary system. As shown below, the secondary system is only three seconds behind the primary:
The primary ReadyDATA unit is now protected through Replication to the secondary ReadyDATA unit.