

This article provides a step-by-step procedure to setup the NETGEAR Trek travel router as a wireless AP (access point) for your home network.
To configure the PR2000:
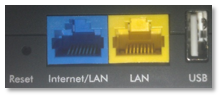
- Connect one end of an Ethernet cable to the PR2000 Internet/LAN port (Blue port) and the other to a working internet source.
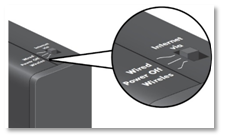
- Slide the switch on the side of the PR2000 to the Wired position.
- Plug the PR2000 into a wall outlet and wait for 30 seconds.
Note: You can also supply power to the PR2000 via micro USB cable.
- Connect your device to the PR2000 either via wired or wireless:
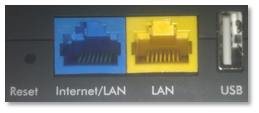
If you are using a wired computer, make sure that it is securely plugged into the LAN port (the Yellow port) of the PR2000.
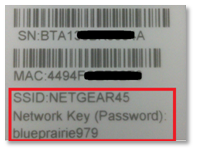
If you are using a wireless laptop or wireless device you can scan for available Wi-Fi networks and look for the PR2000 default wireless network name (SSID) and connect to it by typing its default password (Network Key). The PR2000 default wireless network name and password can be found on the label next to its serial number and MAC address.
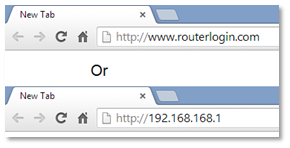
- From your computer or smart device, open a web browser and type in http://www.routerlogin.com or http://192.168.168.1 into the address bar.
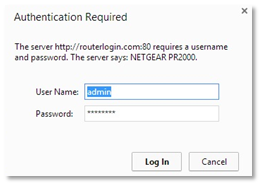
- If prompted to login, type in admin for username and password in the password field.
- From the Basic tab, click Internet.
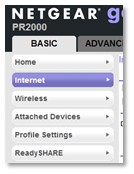
- On the main part of the page, select Enable AP Mode and To save a name for profile. Type in a name you prefer.

- Click Apply to save the changes.
Last Updated:07/07/2025
|
Article ID: 24572