

This article shows how to install a UTM, and how to enable the 30 day Trial Registration.
Procedure: Power up and plug UTM WAN 1 port into a live internet connection.
Plug Windows PC/ MAC into one of the 4 LAN ports. Go to Web interface. Default IP is https://192.168.1.1
Go to Network configuration>> WAN Settings >> WAN >> WAN 1 ISP settings>
Click “Auto detect”. This is the yellow button at base of screen.
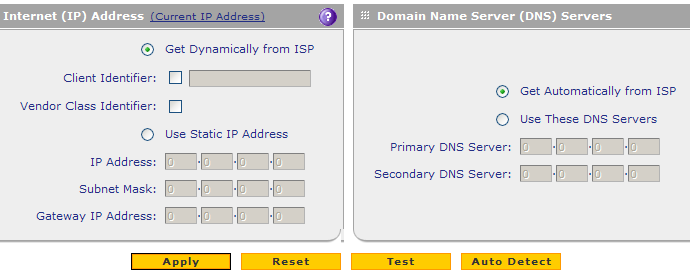
After approx. 3 mins, check that you have internet.
The UTM’s come with a one-off, 30 day Trial licence.
This licence is similar to a Support contract. It divides into 3 sub-sections, they being Support & Maintenance, Web filtering and email filtering. UTM firmware cannot be updated until the Support & Maintenance contract is activated.
Go to Support, and Registration.
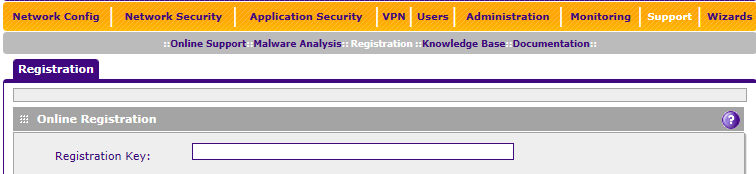
Note: Online Support Tunnel is for Engineering use, and is not used by the customer
Fill in your details. Phone no’s and VAR(Reseller) Information are not essential.
Press "Trial" at the bottom of the screen.

In 2 minutes approx. you will see the Licence key field populate at the top of your screen, with the
expiration date, ending in 30days.
Click Administration >> System Update >> Firmware
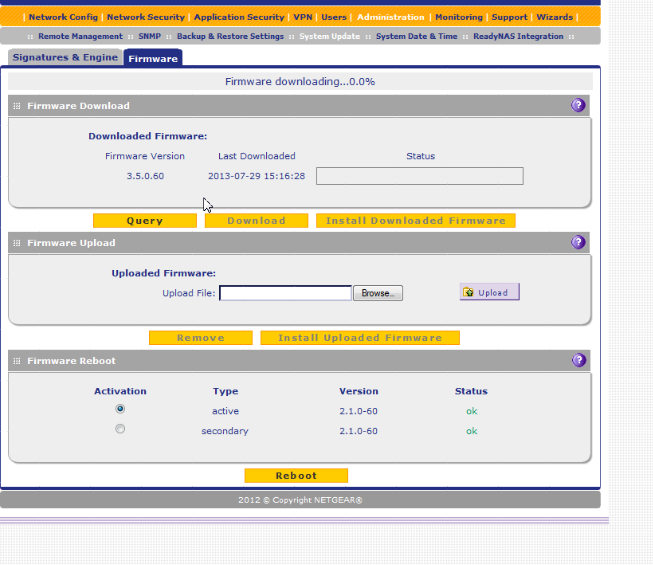
Hit “Query”. The list of available firmware revisions will populate.
Rev 1.0.0-23 was the initial revision dating from 2009. The latest at time of writing is V3.5.2-14.
Then hit 'Download'. Depending on your internet speed, a download of 75-80Megs may take approximately 25 minutes. Some customers opt to do this at an off peak time.
As UTM's may be stored at Resellers or Distributors for up to 12 months, I advise firmware upgrade as part of the install process.
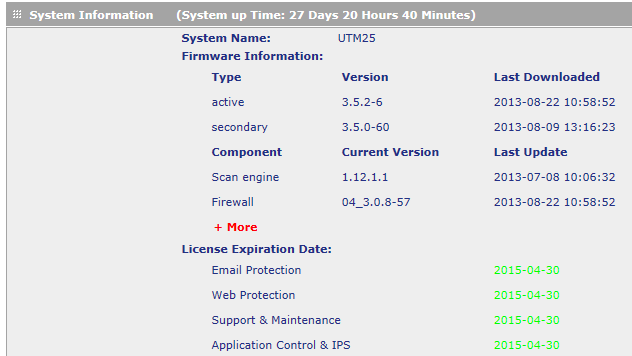
Under Monitoring >> System status, that will display the revisions of firmware and scan engine as shown. Scan engine and Pattern files update automatically in the background. The user does not need to trigger these updates
- Obtaining WAN IP address
- Activating licence
- Updating UTM firmware
Further information
Doc # 24206 Rev 1.1 April 2014