

New Feature:
- Support for port settings (EEE, flow control, and speed) on WAN and LAN interfaces
Features:
- NETGEAR® Insight Managed
- 4-years NETGEAR Insight subscription for remote cloud-based management
- 2.5 Gbps primary WAN port
- Three 2.5 Gbps LAN ports (LAN1, LAN2, LAN3)
- One 10 Gbps LAN/WAN Port (LAN5 WAN2), the default function is LAN port
- LAN5 port can be converted to second WAN port (WAN2) through the UI
- 10 Gbps SFP+ LAN4 port
- Up to 2000 clients supported
- Eight VLANs supported with an IPv4 DHCP server on each VLAN
- VLAN support on LAN ports in access and trunk modes
- Inter-VLAN support
- Device management per VLAN
- Static DHCP leases per VLAN (256 clients per VLAN)
- Internet setup using PPPoE, DHCP, or static IP address
- VLAN support for WAN ports
- MAC address spoofing
- Dual WAN (failover) support
- Site-to-Site IPSec VPN support (up to 30 tunnels supported)
- IPSec profiles (up to 30 profiles supported)
- Firewall:
- 60,000 maximum concurrent connections
- Port scan and DoS protection
- DMZ server
- SIP ALG
- VPN passthrough
- Port forwarding (up to 128 rules supported)
- Port triggering (up to 128 rules supported)
- Service management (up to 128 profiles supported)
- Traffic rules (up to 256 rules supported)
- Schedule profiles (up to 32 profiles supported)
- UPnP discovery
- Routing:
- RIP per VLAN
- Static routing up to 64 profiles supported
- Attached devices display
- DHCP leases display
- Statistics display
- Logs
- Backup and restore functions
- Password recovery function
- NTP, time zone selection
- Diagnostics:
- Ping test
- Speed test
- Traceroute
- DNS lookup
- Packet capture
- Multicolored LEDs for Power, Internet, and Cloud functions, and for SFP+, WAN, and LAN ports
Known Issues:
- An IPSec tunnel cannot be established with an SA lifetime shorter than 510 seconds.
Workaround: Configure an SA lifetime longer than 510 seconds. - In a dual WAN configuration, an IPSec tunnel shows the status as “UP” on the secondary WAN interface while the primary WAN interface is active.
Workaround: The IPSec tunnel works on the active WAN interface; the other tunnel is for backup. - In a dual WAN configuration, after a WAN-LAN IP address conflict occurs, the device IP address is changed to 10.0.0.1 but is still in conflict with the IP address of the WAN1 port.
Workaround: Manually resolve the conflicts of the WAN1, WAN2, and LAN IP addresses. - The time stamp of a syslog entry is not adjusted according to the local time zone.
Workaround: Interpret the log events in the system time. - You cannot search attached devices on a LAN port.
Workaround: Use another search option, or sort by LAN port number.
Bug Fixes:
- An IPSec tunnel is not established when the remote identifier type or local identifier type is configured with FQDN.
- In a dual WAN configuration: DNS is not resolved for connected client when the WAN1 and WAN2 interfaces use the same default gateway addresses.
Download link: https://www.downloads.netgear.com/files/GDC/PR460X/PR460X-V2.0.1.43.zip
Firmware Update Instructions:
To update your product’s firmware, follow the instructions in your product’s user manual. To find your user manual, visit https://www.netgear.com/support/, enter your model number in the search box, and click the Documentation button on the product page.
The following sections also describe how you can update the firmware.
Manually Update Firmware after Initial Setup:
- Download the latest PR460X V2.0.1.xx firmware file from the NETGEAR support site (https://www.netgear.com/support/).
- Launch a web browser from a computer that is connected to a PR460X LAN port.
- Enter the IP address that is assigned to the router.
If your computer is directly connected to the LAN port, enter https://www.routerlogin.net. Otherwise, enter https://<IP-address-of-router>.
Note: If the IP address of the router is its 192.168.1.1 default address, enter https://192.168.1.1.
A login page displays.
If your browser displays a security warning, you can proceed, or add an exception for the security warning. For more information, see https://kb.netgear.com/000062980. - Enter the router user name and password. The user name is admin. The password is the one that you specified when you set up the router. The user name and password are case-sensitive.
If you did not yet specify a custom password, the default password is password (also stated on the router label). - Click the LOGIN button.
The Dashboard page displays. - Select Administration > Firmware Update
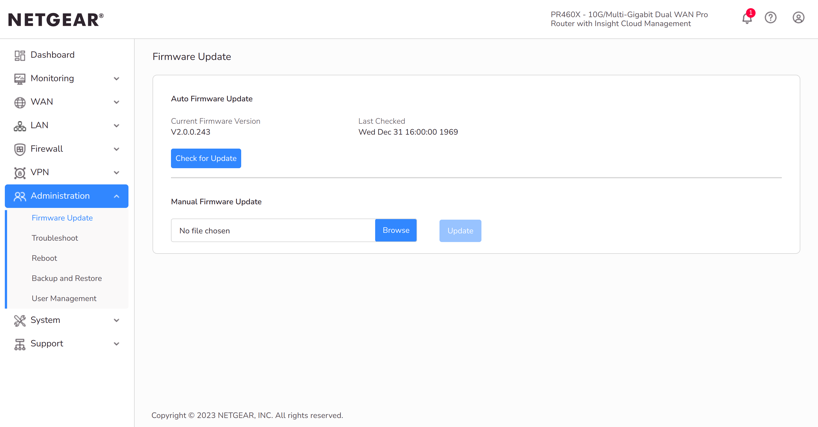
- Locate and select the firmware file on your computer by doing the following:
- In the Firmware Update section, click the Browse button.
- Navigate to the firmware file.
The file name ends in .bin. - Select the firmware file
- Click the Update button.
A Firmware update confirmation pop-up window displays. - Click the Update button.
The page displays the update progress. The update takes about 90 seconds.
WARNING: To avoid the risk of corrupting the firmware, do not interrupt the update. For example, do not close the browser, click a link, or load a new page. Do not turn off the router. Wait until the router finishes. - When the update is finished, log back into the router.
The firmware version displays on the Dashboard page.
Let the Router Automatically Update the Firmware During Initial setup:
- Launch a web browser from a computer that is connected over PR460X LAN port.
- Enter the IP address that is assigned to the Router.
If client is directly connected to the routers LAN network, you can enter https://www.routerlogin.net. Otherwise, enter https://<IP-address-of-Router>.
Note: If the IP address of the router is its 192.168.1.1 default address, enter https://192.168.1.1.
A login page displays.
If your browser displays a security warning, you can proceed, or add an exception
for the security warning. For more information, see https://kb.netgear.com/000062980. - Enter password as the router login password (also stated on the router label) and click the LOGIN button. The password is case-sensitive.
The Welcome page displays. - Click the Next button.
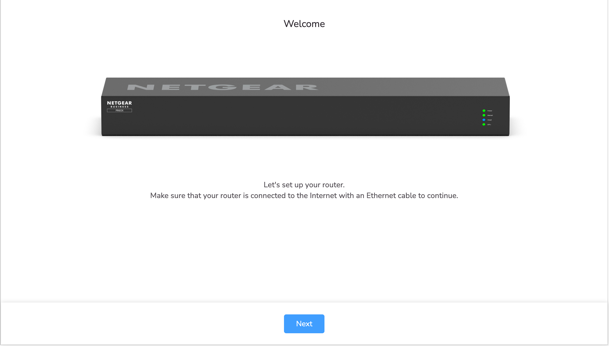
- On the Terms of Services page, click the I Agree button.
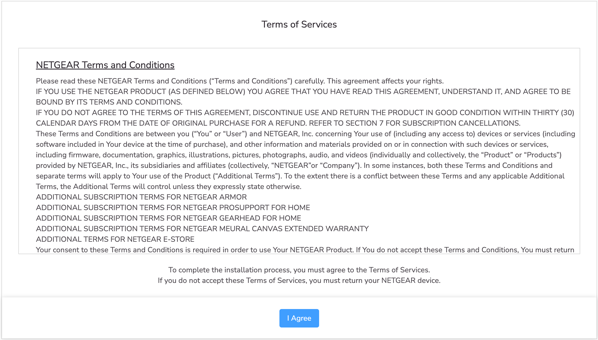
- On the Internet Detected page, click the Next button.
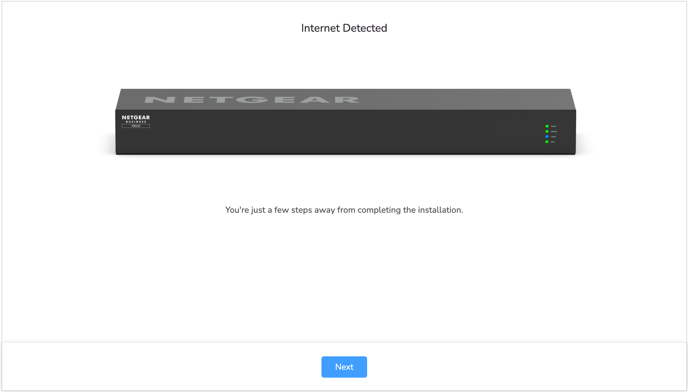
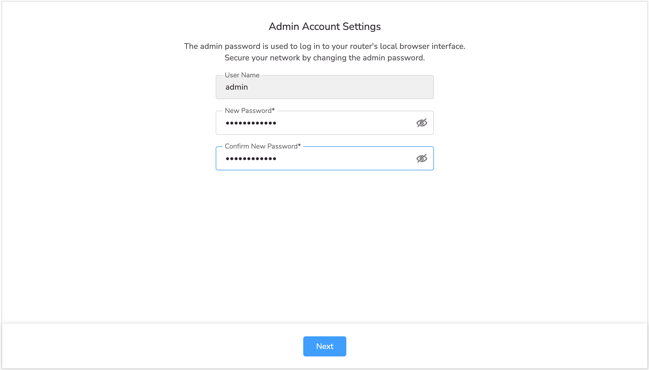
- On the Admin Account Settings page, set a new router login password, and click the Next button.
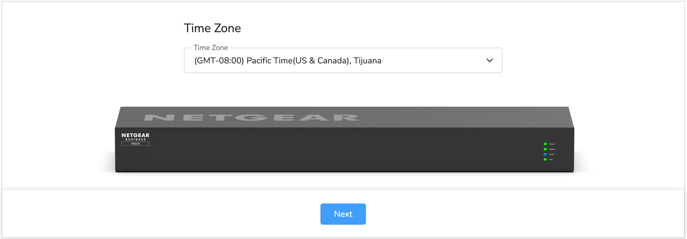
- On the Time Zone page, select your time zone, and click the Next button.
- If the New Firmware Detected page displays, click the Next button.
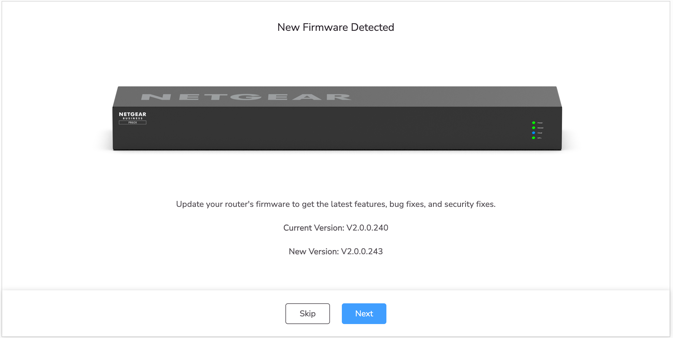
A pop-up window displays. - In the pop-up window, click the Update button.
- Wait for the upgrade to complete.
- In the Firmware update complete pop-up window, click the OK button.
- When the update is finished, log back into the router.
The firmware version displays on the Dashboard page.
Let the Router Automatically Update the Firmware when the Router Detects a New Version:
- Launch a web browser from a computer that is connected to a PR460X LAN port.
- Enter the IP address that is assigned to the router.
If your computer is directly connected to the LAN port, enter https://www.routerlogin.net. Otherwise, enter https://<IP-address-of-router>.
Note: If the IP address of the router is its 192.168.1.1 default address, enter https://192.168.1.1.
A login page displays.
If your browser displays a security warning, you can proceed, or add an exception
for the security warning. For more information, see https://kb.netgear.com/000062980. - Enter the router user name and password. The user name is admin. The password is the one that you specified when you set up the router. The user name and password are case-sensitive.
If you did not yet specify a custom password, the default password is password (also stated on the router label). - Click the LOGIN button.
The Dashboard page displays.
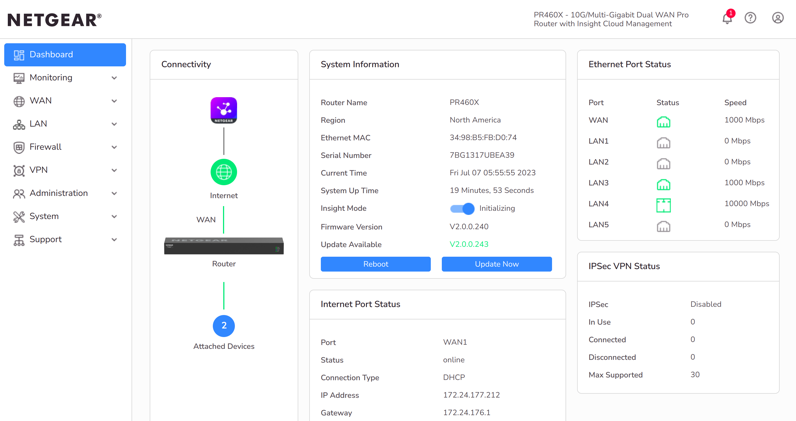
- In the System Information pane, click the Update Now button.
A Firmware update confirmation pop-up window displays. - Click the Update button.
The router locates and downloads the firmware and begins the update. The page displays the update progress. The update takes about 90 seconds.
WARNING: To avoid the risk of corrupting the firmware, do not interrupt the update.
For example, do not close the browser, click a link, or load a new page. Do not turn off the router. Wait until the router finishes. - When the update is finished, log back into the router.
The firmware version displays on the Dashboard page.
Last Updated:07/07/2025
|
Article ID: 000065790