

Most NETGEAR WiFi range extenders can optionally be installed as access points. Access points connect to your main router via Ethernet to broadcast a new WiFi signal, while extenders connect to your main router via WiFi to repeat and extend the router’s signal.
If you can connect your extender to your main router with an Ethernet cable, you might want to set it up as an access point to benefit from a stronger WiFi signal.
To install your NETGEAR WiFi range extender as an access point:
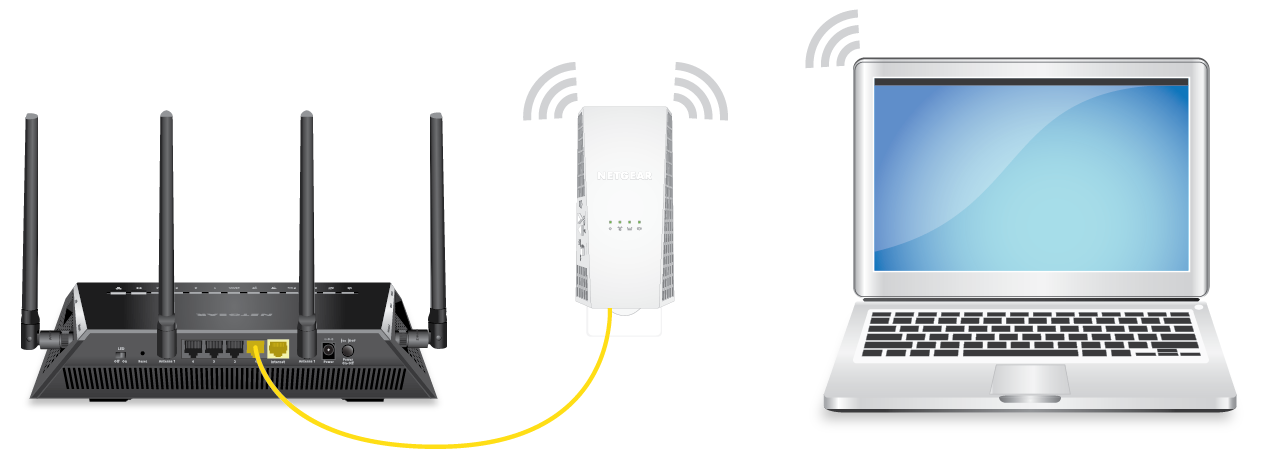
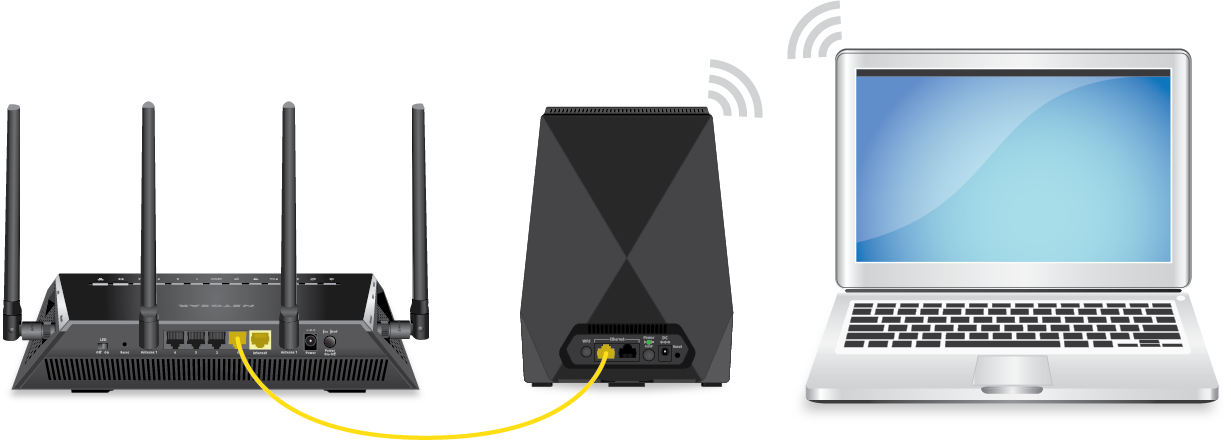
- If your extender has an Access Point/Extender switch, set the switch to Access Point.
- Using an Ethernet cable, connect your extender to a LAN port on the back of your router.
- Plug the extender into an electrical outlet.
- Wait for the Power LED to light.
If the Power LED doesn’t light, press the Power button. - Using a WiFi-enabled computer or mobile device, connect to the NETGEAR_EXT network.
- Launch an Internet browser and visit www.mywifiext.net.
- Click or tap NEW EXTENDER SETUP.
- Complete the fields to create an account and click or tap NEXT.
Note: This account is used for the extender user interface and for password recovery. - If the NETGEAR installation assistant asks you to select an installation type, click or tap Access Point.
- Follow the prompts to finish setting up your extender as an access point.
Last Updated:07/07/2025
|
Article ID: 000060286