

This article explains how to configure the ReadyCLOUD client to back up data from Mac OS X to a ReadyNAS OS 6 system.
Not what you're looking for? Return to the ReadyNAS Backup FAQ
When a folder on Mac OS X is backed up to a ReadyNAS using the ReadyCLOUD client:
- A corresponding folder is created on the ReadyNAS
- The data is copied from the Mac folder to the ReadyNAS folder.
- The folder on the ReadyNAS is called MacName-FolderName, for example: MyMac-Pictures or HomeOSX-Documents.
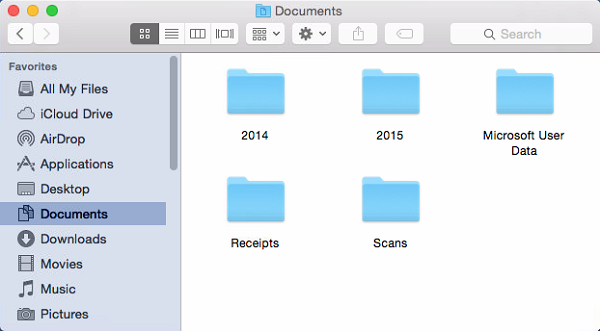
In this example, the ReadyCLOUD client is already installed on the Mac and we are backing up the Documents folder from the Mac to the ReadyNAS. Below are the contents of the Documents folder:
- Log in to the ReadyCLOUD client by entering your MyNETGEAR username and password.
- Click Sign In:

- The client begins connecting to the ReadyNAS:

- Once the client is connected, click on Backup Mac Folder:
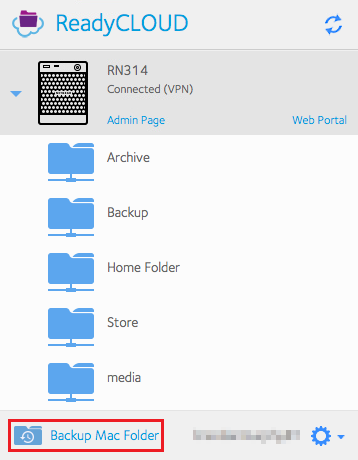
- A list of folders in your Mac profile displays. Click on the folder you want to back up to the ReadyNAS and then click Choose:

- The client creates a corresponding folder on the ReadyNAS:

- The data from the folder on the Mac is scanned and copied to the folder on the ReadyNAS:

- When all data within the folder is copied to the ReadyNAS, the ReadyCLOUD client indicates that it has completed:

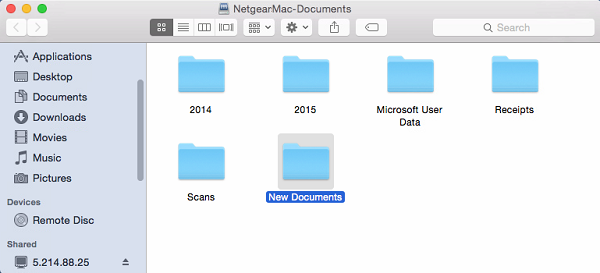
- In the ReadyCLOUD client, click on the folder on the ReadyNAS (called NetgearMac-Documents in this case). It is opened in a new Finder window, showing the backed up data:

- Now add some new content to the Documents folder on the Mac:

- You will then see this new content is backed up to the folder on the ReadyNAS:
Last Updated:07/08/2025
|
Article ID: 29778