This article describes how to back up data from a ReadyNAS OS 6 system to another ReadyNAS OS 6 system using ReadyNAS Replicate.
Not what you're looking for? Return to the ReadyNAS Backup FAQ
In this example, the source of the backup is the primary ReadyNAS, called MainNAS:
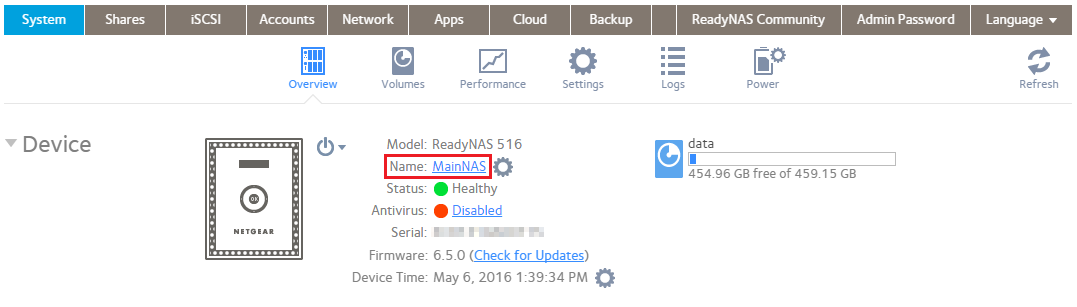
MainNAS has four shares on it (Documents, Movies, Music and Photos), each with some data inside:
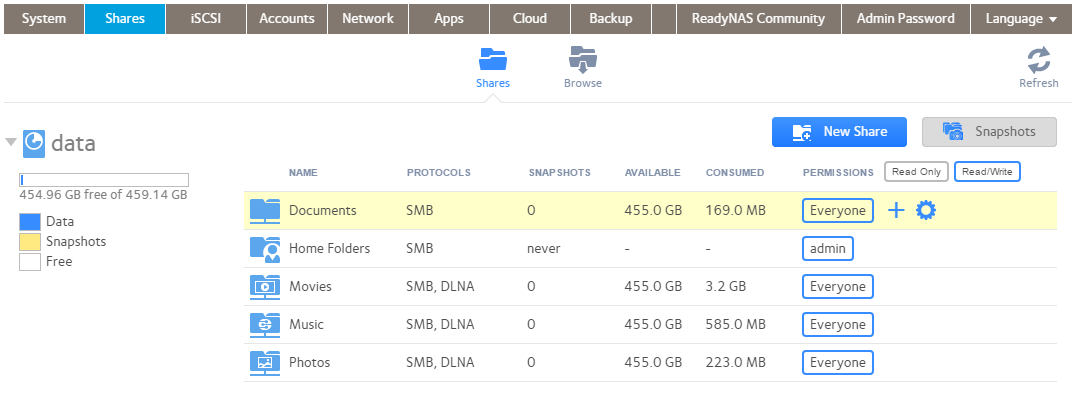
The destination of the backup is the secondary ReadyNAS, called BackupNAS:
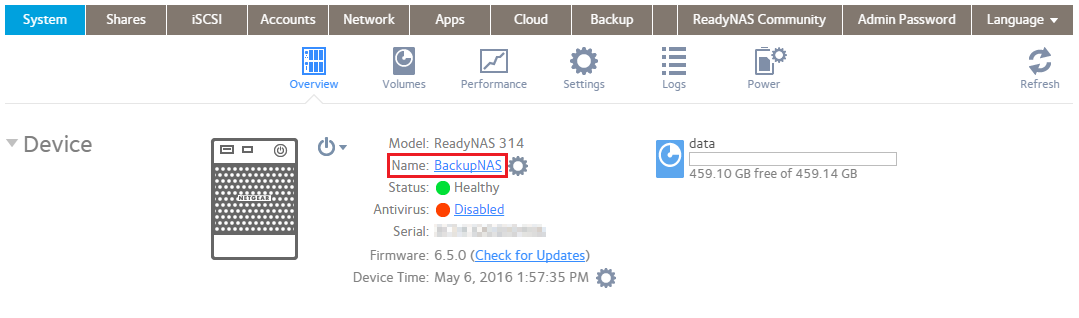
In BackupNAS, we create a share for each backup we need to do. In the settings of each share, ensure that Snapshot Schedule is set to Never and Bit Rot Protection is disabled.
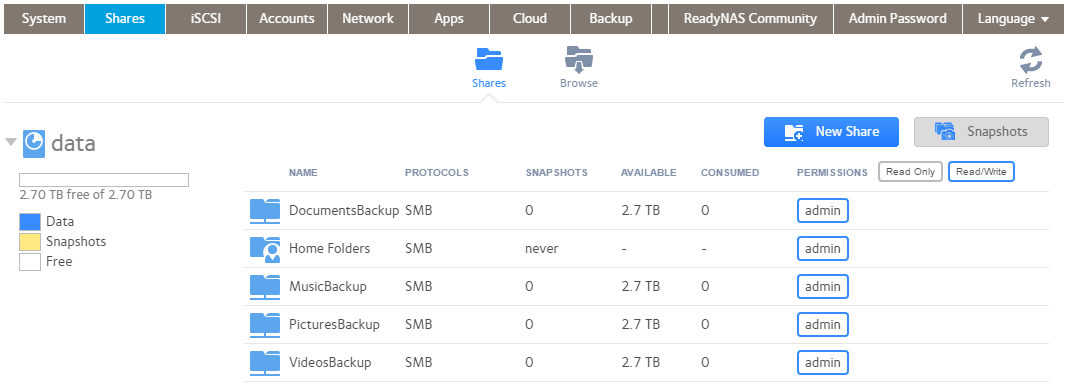
Here we demonstrate how to backup the Documents share. The process can be repeated for any other shares.
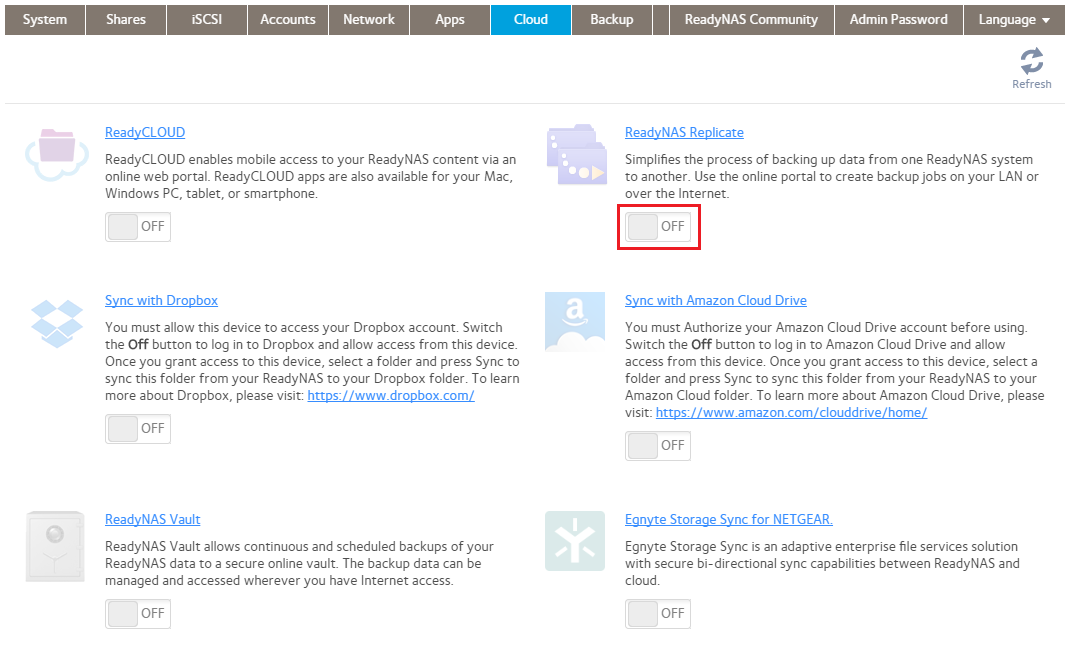
- On the admin page of MainNAS, go to the Cloud tab. Set the ReadyNAS Replicate toggle switch to ON:
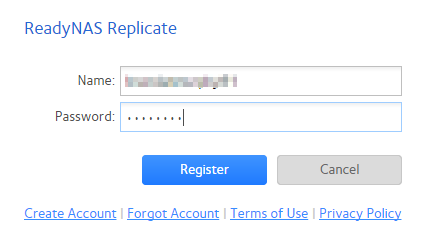
- In the pop-up window that appears, enter the username and password for your ReadyNAS Replicate account and click Register. If you do not have a ReadyNAS Replicate account, click Create Account.
- Repeat steps 1 & 2 on the destination NAS (BackupNAS).
- Go to https://replicate.readynas.com/login/index.html and sign in using the account you used in step 2.

- After you log in, both ReadyNAS devices are listed in the Network section of the portal:
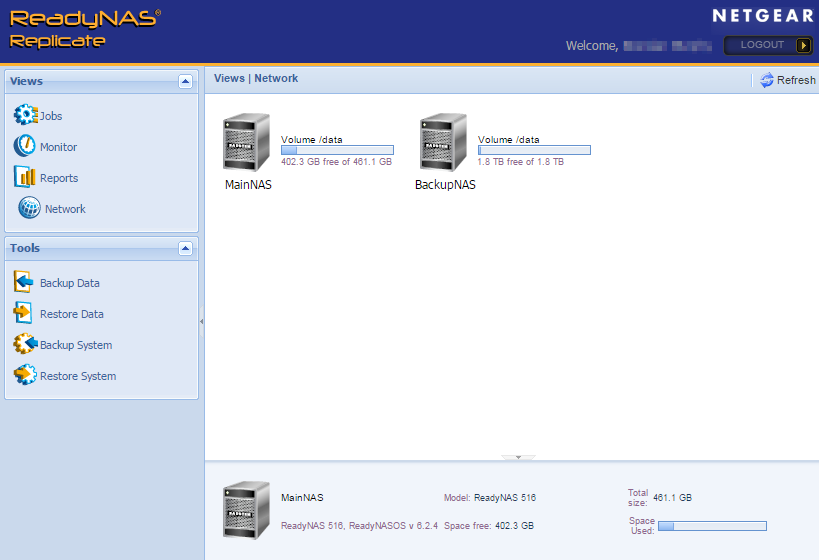
- To create a Replicate backup job, click on Backup Data:
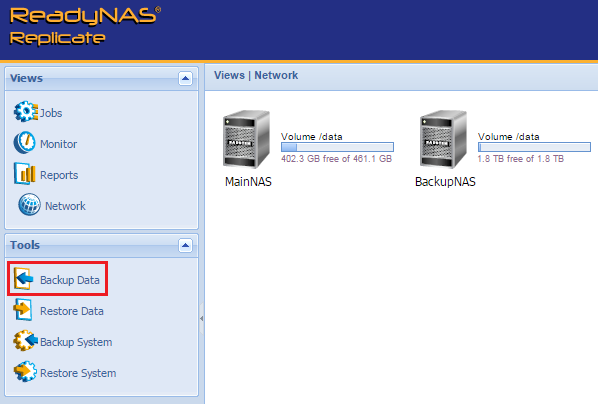
- In the Name field, change the name of the job from the default. Leaving the default name can cause problems later when trying to access the destination from Windows.
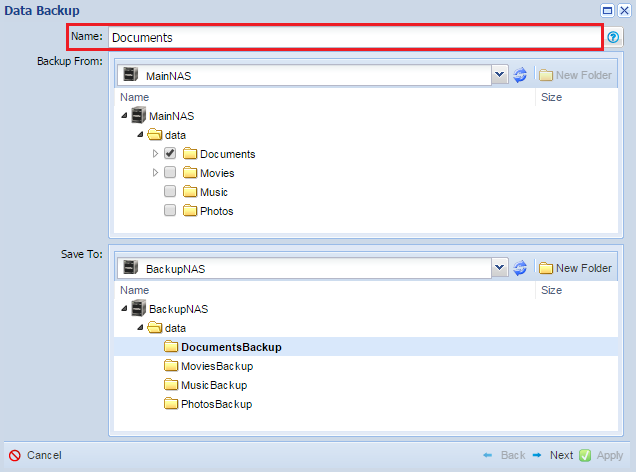
- In the Backup From field, choose the source NAS and then select the share which will be the source of the backup job:
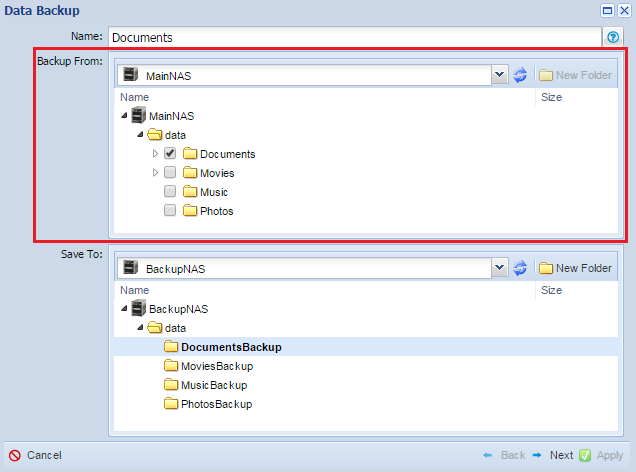
- In the Save To field, choose the destination NAS and then select the share which will be the destination of the backup job. Then press Next.
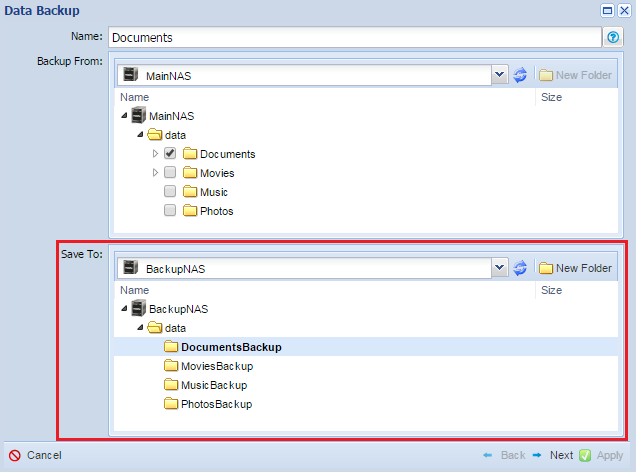
- At the next screen, set the desired schedule for the backup job. Then press Next.
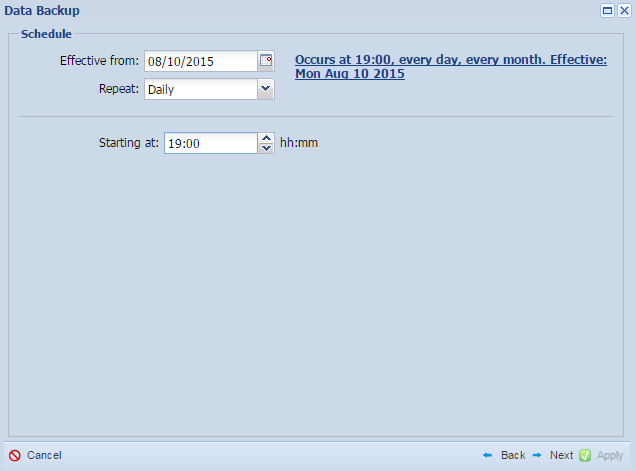
- The next screen allows you to review the job schedule and also set some remaining options as follows:
- Enable Snapshot: It is recommended to enable this. Using a snapshot will give a consistent backup.
- Limit revisions: Adjust this to the number of revisions (versions) that you want to keep on the destination. Setting a higher number of revisions will require more capacity at the destination.
- Compression: Enable this option only if the source and destination systems are in different locations and the copy will be going across the WAN.
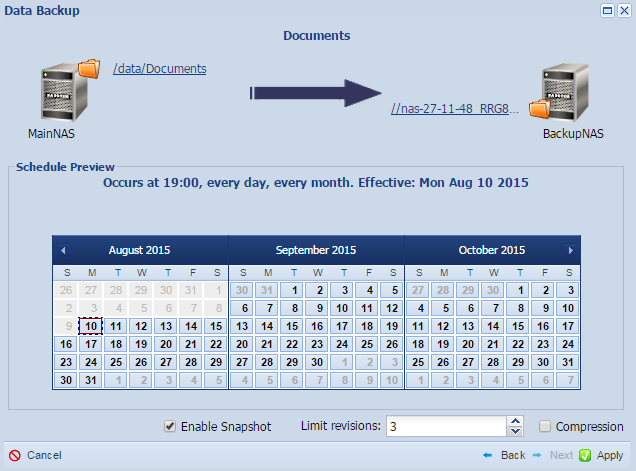
- Click Apply and the job is now created.
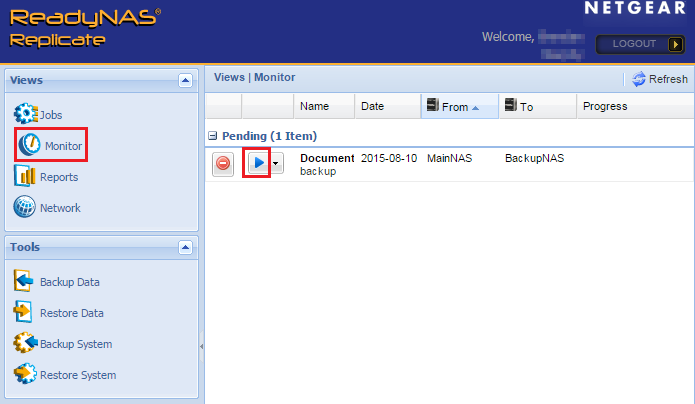
- To run the backup job, you can either wait for the defined scheduled time to arrive or you can run it manually by going to Monitor and clicking the start button:
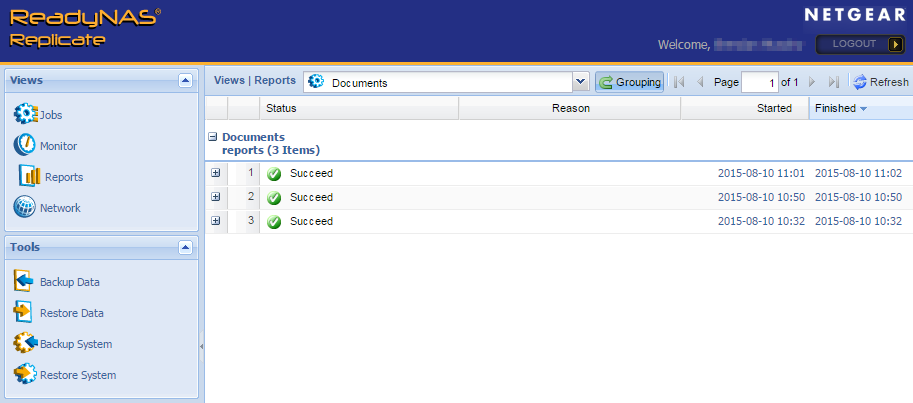
- You can review the logs of the job by going to Reports and choosing the job from the drop down menu:
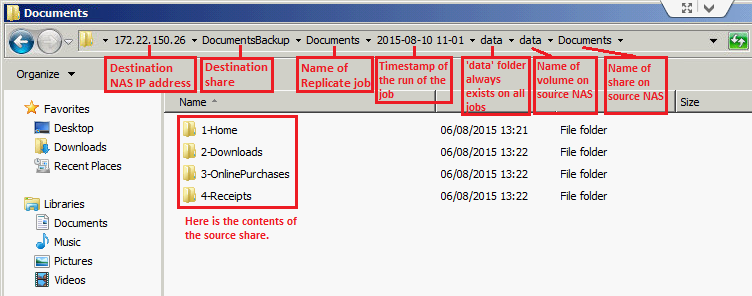
Note: On the destination NAS, the data will be stored in a structure which is defined by ReadyNAS Replicate. This cannot be adjusted. Here is a break down of this structure:
\ Destination_NAS Destination_share Name_of_Replicate_job Tiemestamp_of_the_run_of_the_job data Name_of_volume_on_source_NAS Name_of_source_share Contents_of_source_share