

Note: As of April 15, 2021, NETGEAR no longer supports the Readyshare Vault application for Windows. You can continue to attach storage to your NETGEAR devices with Readyshare USB. You can also continue using Readyshare Vault, but after April 15, 2021, the application might not work. For more information, see Support for Readyshare Vault ends April 15, 2021.
ReadySHARE Vault is a free backup and disaster recovery software. It is developed by NETGEAR and it has a user friendly GUI for easier backup and recovery setup of any Windows computer. It copies files from the Windows computer into the USB storage connected to your NETGEAR router.
Below are the instructions on how to backup files from the computer into the USB Storage of your NETGEAR router using ReadySHARE Vault software.
- Download and install the ReadySHARE Vault software by going to this link: http://www.netgear.com/landing/en-us/readyshare.aspx
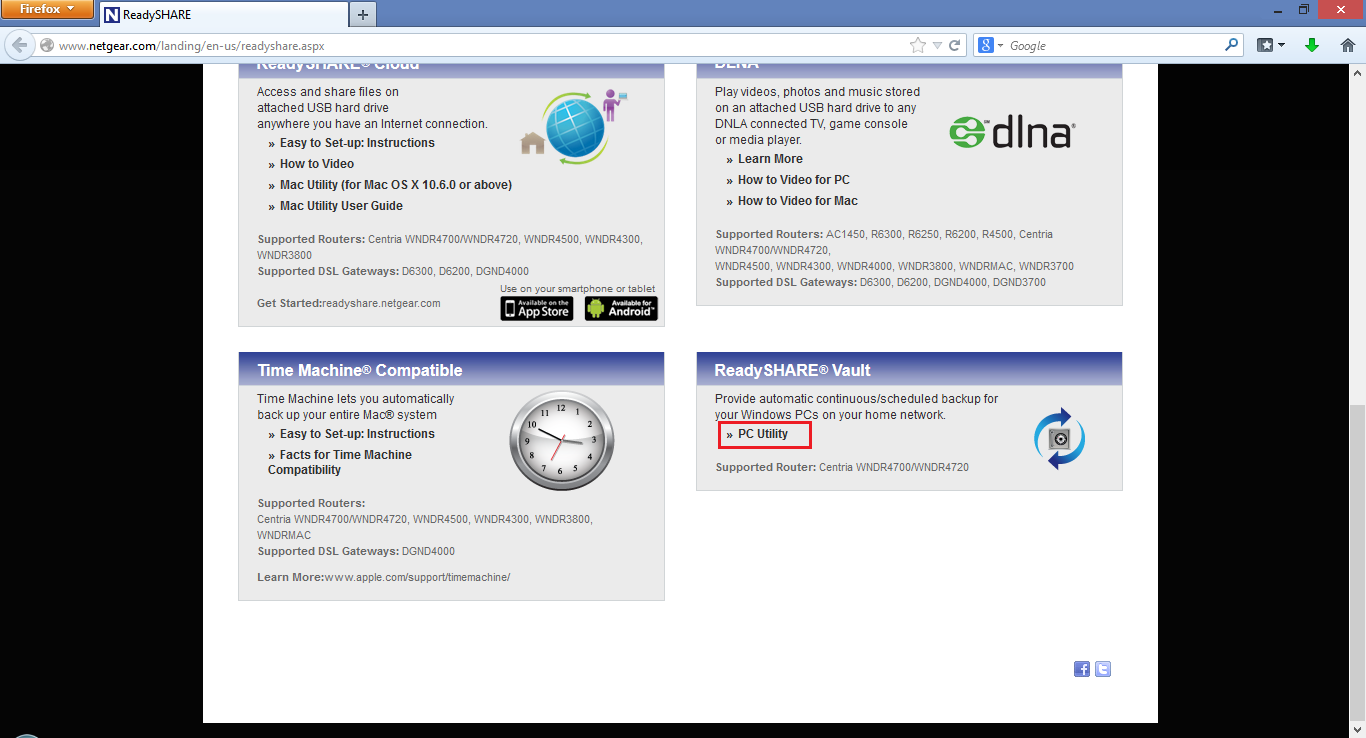

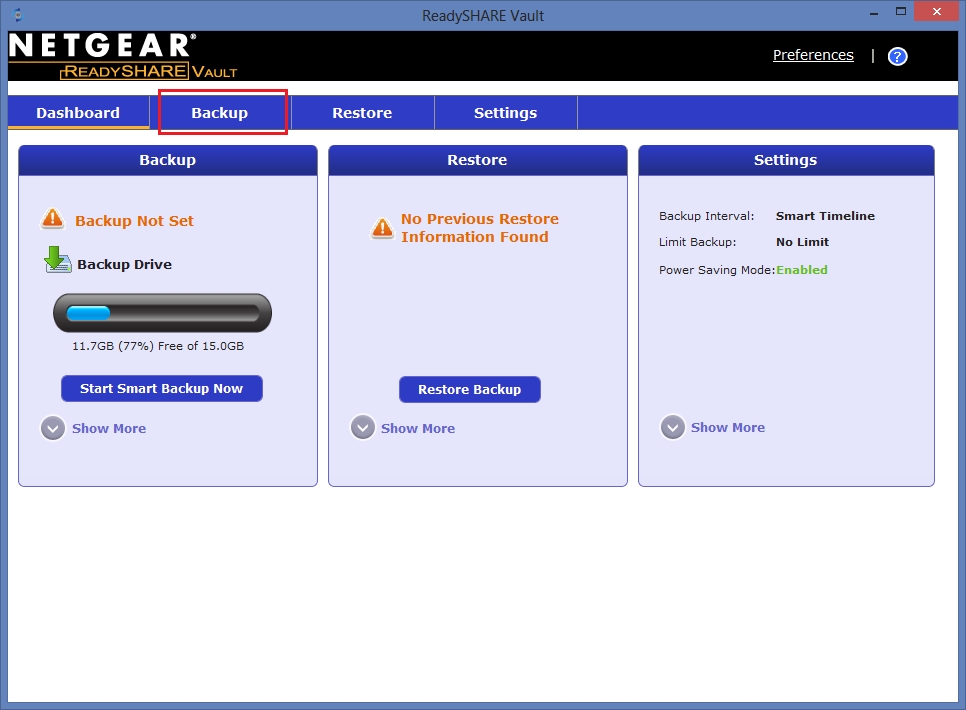
- After installing the ReadySHARE Vault, the program will launch automatically and since it is a first time use, it will show that Backup is not yet set.
Click on the Backup tab to create a backup.
- It will show that the software has detected the external hard drive. You can actually use the 2 USB ports and connect 2 external hard drives. In this example, there is only 1 USB port used.
You can select the backup source using either "Smart Selection" or manually select the backup folder by clicking "Add Files/Folders".

- It will open a window where you can select which drive/folder to backup. In this example, we are going to backup a folder named "Test Backup" under "My Documents".
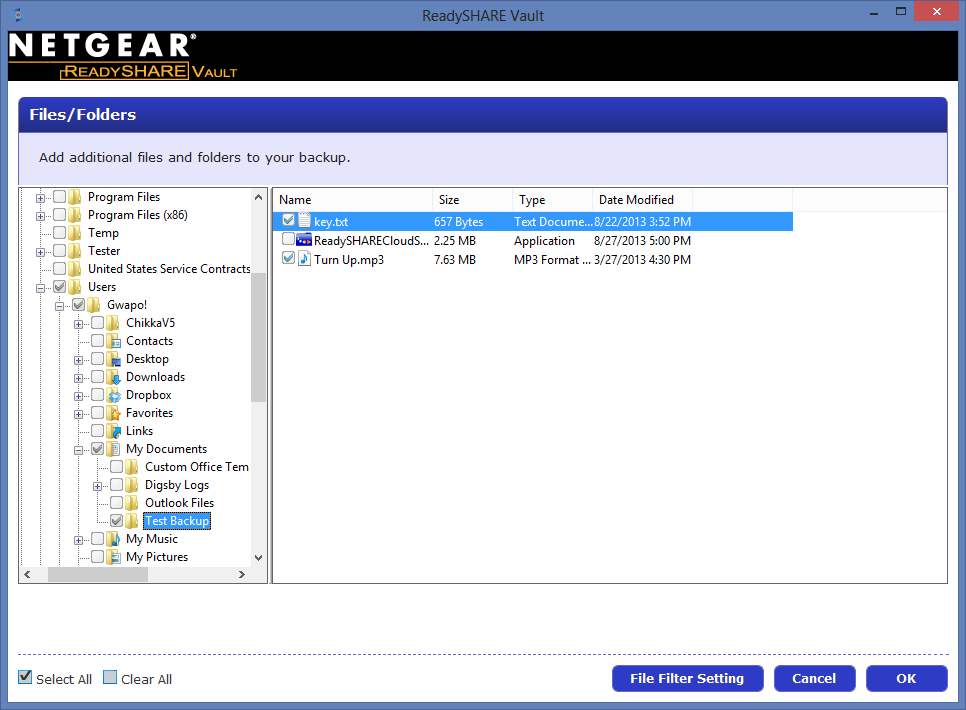
Note: You can either select all the files in the folder or just select certain files by ticking on the box beside the files you want to backup.
- Click on OK to go back to the Backup window then you can click on "Save and Start Backup". Under the Step 3: Security, you can set it to password protected (Optional) by ticking on the box beside "Enable Secure Data".

- The backup would start and wait for it to finish.

- For restoring files, we will now delete the files we just finished doing a backup.
In this example, we will the files that was copied and retrieve it using the Restore feature of the software

- Open the ReadySHARE Vault software and click on the "Restore" tab at the top and select the backup that was just created. Click on "Next".

- In step 2, you can either select if you want to retrieve the folder in its original location or to an alternate location. You can also decide if you want to replace the files or not. Once done, click on the "Restore Now" button.

- After restore process is completed, click on OK.

You will now see that the deleted files under the "Test Backup" folder is now restored in its original location

F.A.Q.
Q: Can I use this for multiple computers?
A: Yes, just download the ReadySHARE Vault software on the computers you want to use.
Q: I wanted to backup some files on my PC automatically, is this possible?
A: Yes, you can set on when to backup your files on certain days and you can set it every day or at most, every 3 minutes for those files that needs to make sure you have a backup. Go to Settings and click on the icon beside Backup Interval.
Q: I want to receive updates for my ReadySHARE Vault?
A: You can enable the Email Notification under the Settings tab. Make sure you know the SMTP address for your email server. There are embedded options for Yahoo mail, Gmail, Hotmail, etc.
Q: Can I use the software for my MAC PCs?
A: No, ReadySHARE vault software is only for Windows-based computers.