

You can specify up to three DNS servers in your ReadyNAS storage system.
If you selected the option to assign an IP address manually when you configured your Ethernet settings, you must manually specify the IP addresses of the DNS servers and the domain name to access your storage system over the Internet. Your network administrator can help you determine your Domain Name Server IP address.
To add DNS information for an Ethernet interface:
- Select Network > Links.
- Select the Ethernet interface that you want to configure.
- Ethernet interfaces with active links are colored green.
- Ethernet interfaces with inactive links are colored gray.
- From the pop-up menu that displays, select Settings
_new.PNG)
A pop-up screen displays the settings for the selected Ethernet interface.
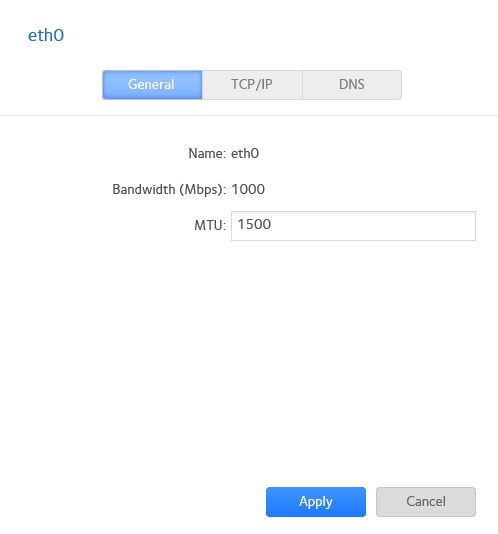
- Click the DNS tab.
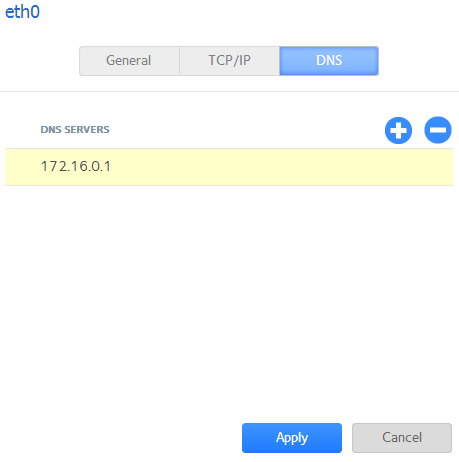
- Click the
 icon to the right of the list of DNS servers.
 - In the pop-up screen that displays, enter the server IP address.
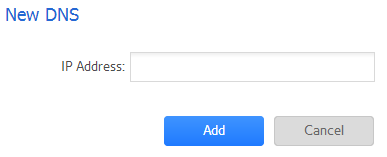
- Click the Add button.
The DNS server is added to the list. - Click the Apply button.
Your changes are saved.
Last Updated:07/07/2025
|
Article ID: 23075