

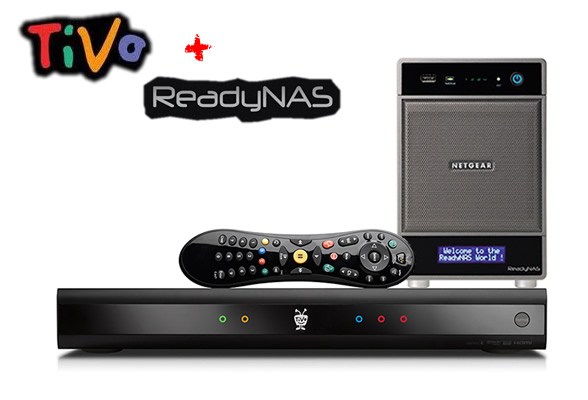
Face it, there are two fairly recent technologies for the home that most of us wouldn’t dare give up — HDTV and DVR service. The satisfaction of watching your favorite shows in super sharp HD resolution, and then being able to watch them when you want, and being able to skip commercials — that’s a beautiful thing.
But… there’s a dark side to that. DVRs have very limited capacity, especially when you start recording HD. And this can certainly result in domestic disputes. We’ve all experienced our favorite shows that we’ve saved to watch over and over again disappear when something our spouse recorded wiped it off the planet. You know what I’m talking about! And admit it, we’ve done the same when we record our 20 hours of sports each week.
With the new ReadyDLNA on the ReadyNAS Ultra platform, we won’t guarantee we’ll be able to get rid of all your domestic disputes, but maybe we can help with one — the one about whether your program is DVR worthy. If you’re lucky to have the very best DVR on the market, made by TiVo®, the latest ReadyDLNA for the ReadyNAS Ultra platform now has the capability to not only archive your unprotected TiVo recordings, but allow them to be played back on any of your TiVos in your home. With up to 12 TB of raw capacity, imagine the on-demand library that you’ve always wanted, all centralized and viewable on any of your TVs. And with that much capacity, who cares if you think Bachelor Pad is DVR worthy
Best of all, it’s pretty easy to set up. Take a look.
On the ReadyNAS, you’ll need to set up the daily archive schedule.
Keep in mind this feature is not available for the non-x86-based ReadyNAS systems (i.e. Duo and NV+).
Step 1: Enable the ReadyDLNA TiVo option in FrontView
You’ll need to enable ReadyDLNA if you haven’t done so already, and enable the TiVo option. You’ll see a TiVo icon for each TiVo that the ReadyNAS detects on your network.

Step 2: Autenticate and activate your TiVo devices with the TiVo Media Access Key
Notice the “Unauthorized” status next to the TiVo icons above. To authorize and activate access to the TiVo, click on the Activate button. You’ll be asked to enter the TiVo Media Access Key (MAK).

You can get the Media Access Key from your TiVo. Just go to the Messages & settings ? Account & system info ? Media Access Key page and it’ll list your key. Keep in mind that the key is the same on all your TiVo devices as it is assigned to your account, not to one device.
Step 3: Set up the archive schedule
Once you’ve activated the TiVo, you can set up the archive schedule. You can choose to save the archives to any video path that you’ve set up in ReadyDLNA. All TiVo media files will be saved in that path, appended by TiVo.

That’s pretty much all that you have to set up on your ReadyNAS. Now let’s go over how to save the videos from the TiVo to the ReadyNAS and play them back. Please keep in mind that the screenshots are done on a TiVo Premiere so it may look a little different if you have an earlier TiVo.
How to archive videos to the ReadyNAS
Archiving your media to the ReadyNAS is pretty simple. In fact, all you do is use your TiVo remote. Just select the recording that you want to archive in TiVo, and mark it as Keep until I delete.

How to playback videos from the ReadyNAS
To playback a video from the ReadyNAS, under the My Shows menu, you’ll see the ReadyNAS entry. You may need to scroll down a little as it typically will be the last item in the menu listing.

Click on the ReadyNAS option and you’ll see the TiVo folder. Just drill down that folder until you see the program that you’ve archived.


Here we go — our video. Play and enjoy!

