

A number of ReadyNAS Pro systems were shipped with the wrong CPU fan cabling which prevents the fan speed from being temperature controlled, thus forcing the fan to run constantly at its maximum speed (in excess of 4000 RPM). If you have one of these systems, you can apply the easy workaround below to restore the automatic fan control. All that you’ll need is a Phillips screwdriver.
Step 1 – Remove the side panel
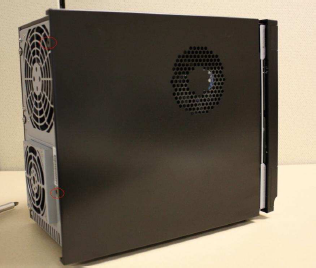
Shut down the system and remove the side panel by taking out the two screws on the back of the unit and sliding the cover back.
Step 2 – Move the CPU fan connector
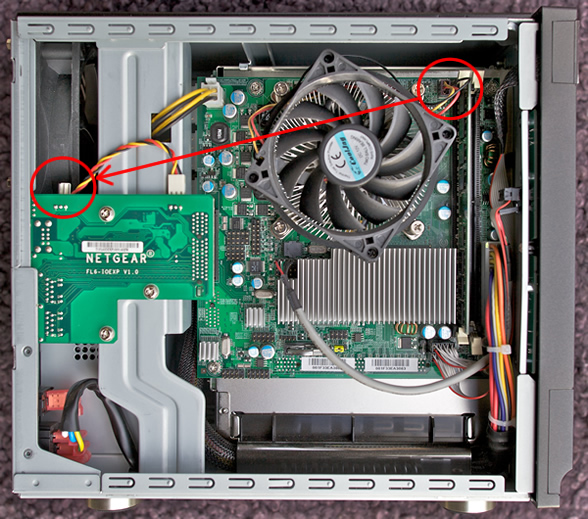
Move the CPU fan connector from the main board to the IO card. See picture below.
Step 3 – Install the add-on
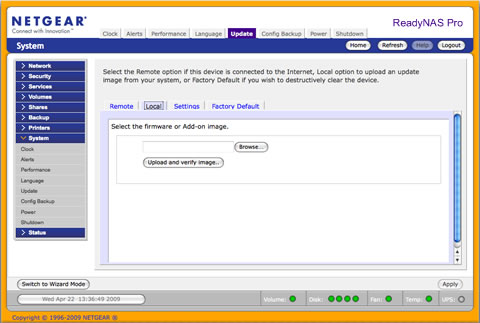
Download and install the ToggleSwitchProCPUFan add-on in FrontView’s System?Update?Localtab.
Step 4 – Reboot ReadyNAS
Reboot the ReadyNAS. Upon boot-up, your CPU fan should run at the expected speed. You can verify this by going to the FrontView’s Status?Health tab.